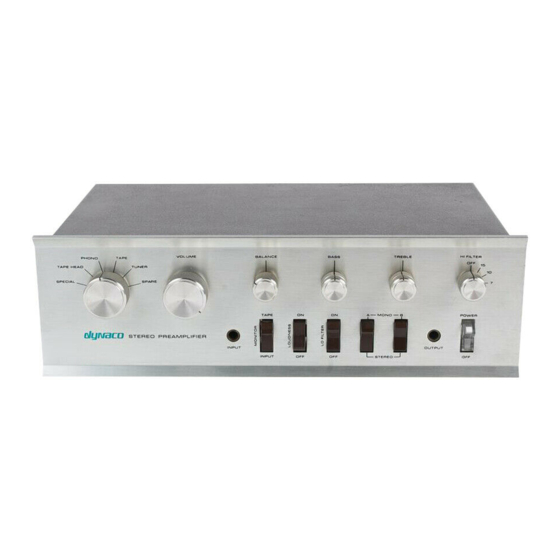
DYNACO PAT-4 Manual de montaje - Página 3
Navegue en línea o descargue pdf Manual de montaje para Amplificador DYNACO PAT-4. DYNACO PAT-4 16 páginas. Power supply
También para DYNACO PAT-4: Manual de montaje (20 páginas)

Section 1: About This Manual
This manual is for the Rev B version of the PAT4PWR product. It differs from the Rev A
version in that:
R26 now mounts directly on the PCB. No air-wiring is necessary.
Certain components have been changed to extend the power supply's regulation
to lower input line voltages.
This manual gives the information you need to build and install a replacement power
supply in the Dynaco PAT-4 Preamp. Compared to the original power supply, the
replacement power supply should give better sound. That's because the outputs are
electronically regulated. That means:
The output voltage isn't affected by normal changes in input line voltage (e.g.
changes in line voltages when appliances turn on and off).
The outputs don't change with changing signal load produced by changes in the
musical signal. That keeps the amplifier stage's operating point more consistent,
and reduces distortion.
The outputs have less noise and hum. That can reduce the hum and noise that
appears at the preamp's outputs.
The layout of the power supply is in many ways superior to the original. For example, the
impulsive noise and current path through the diodes and main filter caps has much
smaller loop area than the original power supply arrangement. That diminishes hum
fields when you've installed the new power supply.
Other PAT-4 Upgrades
As of this writing, the following other PAT-4 upgrades are available from
Updatemydynaco, a division of Akitika LLC:
Blue Light Kit (BLUE)
Line Amp Distortion Reducer (DRD4)
Tone Control Switch (TCS)
The Line Amp Distortion Reducer drops the distortion of the Line Amp by a factor of
ten. The Line Amp is the stage that includes the volume and tone controls. All sound
from the preamp passes through the Line Amp. This upgrade should make everything
played through the PAT-4 sound better.
The Tone Control Switch replaces the existing Hi Filter switch with a two position rotary
switch. In the OFF position, the tone controls are disabled. In the 15 position, tone
controls maintain their normal function. After this modification, the other two positions
of the HI FILTER switch (10 and 7) are not available.
These upgrades can be installed in any combination.
Who Should Attempt these Projects?
You can build this kit if you can:
1. solder (using normal rosin core solder and a soldering iron).
Page 3 of 16
