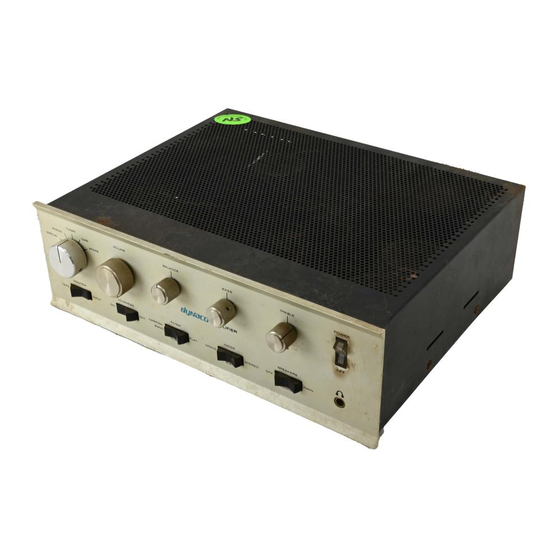
DYNACO SCA-80 Manual de montaje - Página 5
Navegue en línea o descargue pdf Manual de montaje para Amplificador DYNACO SCA-80. DYNACO SCA-80 15 páginas. C9 replacement
También para DYNACO SCA-80: Manual (12 páginas)

Section 2: Building the Power Supply PC Board
First, Get A Soup Bowl!
A wide, flat soup bowl makes a great holder for the parts that you'll install into the
printed circuit board. So get that soup bowl, then open the parts envelope, and carefully
transfer the parts into the soup bowl. Keep the parts envelope near the soup bowl as you
do this. This keeps them from bouncing out of the soup bowl and into the carpet, never to
be seen again.
In general, you'll start with the components that lay closest to the board, working your
way toward the taller components. You will:
1. Install the resistors (note that certain resistor slots are not populated)
2. Install the diode (polarity matters!)
3. Install the 17.5 volt regulator (U2, in a TO-92 package)
4. Install the 24 volt regulator and heat sink.
5. Install the tall capacitors (polarity matters!)
The silk screened (component side) of the PCB shows the locations for the various
components. Those indications are placed a little to the side of the component locations
to allow you to identify components after assembly. If you're ever in doubt about the
correction locations, refer to the component locating guide, Figure 2. This very clearly
shows all the component locations.
Install the Resistors
In general, you install the resistors by placing the body on the silk screen side of the
board, and the leads through the indicated holes. Bend the leads over on the back of the
board to keep the resistors from falling out until you solder them in place. Try to bend the
leads in a direction that avoids solder bridges between traces that should remain
disconnected.
We recommend the following procedure:
1. Insert a resistor.
2. Bend the leads as described above.
3. Solder the leads on the back of the board.
4. Clip the leads.
Place a check mark in the "Done()" column as you complete each step.
Figure 1-A Soup Bowl Makes Assembly Easy
Page 5 of 15
