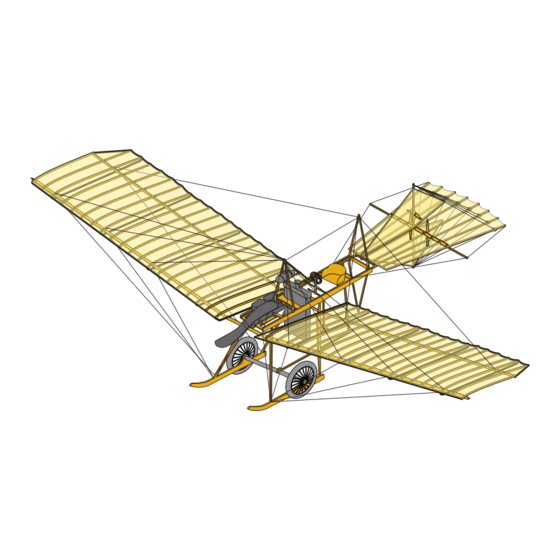
Aircraft in Miniature Limited Historic Wings Fokker Spin 1912 Manual de instrucciones de montaje - Página 4
Navegue en línea o descargue pdf Manual de instrucciones de montaje para Juguete Aircraft in Miniature Limited Historic Wings Fokker Spin 1912. Aircraft in Miniature Limited Historic Wings Fokker Spin 1912 10 páginas. 1:72 metal kit

NOTE:
These photographs show typical
wheels, spoke discs and tyres.
They are NOT specific to this kit.
(3)
Remove the form tool from the vice and remove the formed disc of spokes.
(4)
Do steps 1 C (1) thru 1 C (3) again for each of the spoke discs.
2
ASSEMBLE THE FUSELAGE PRIMARY STRUCTURE
A
Remove the fuselage structure and the fuselage left and right longerons from the fret
and remove any burrs from the attachment tabs.
B
Cut away the area shown in red from the front of the fuselage structure.
C
Twist the two cross beams forward of the tailplane through 90° as the two arrows show.
D
There is a slot etched on the inner face of each fuselage longerons. The edges of the
fuselage structure fits into these slots. Attach the longerons to the fuselage structure.
E
Fold the struts of the landing gear out - use the arrows in figure 3 and the three view
drawing as a guide.
RIGHT LONGERON
FOLD LANDING GEAR
STRUTS OUT AS
THE ARROWS SHOW
3
ATTACH THE FUSELAGE DETAIL PARTS
A
fold the seat as shown and attach it to the fuselage.
B
Attach the control wheel to the control column, then attach the control column to the
fuselage.
C
Attach the fuel tank pylon and the two aft pylons.
D
Attach the upper and lower fins.
E
Attach the tail plane spar.
F
Attach the rudder arms to the rudder leading adge.
G
Use the piece of wire to form an axle and attach the two wheels
H
Attach the tail skid to the fuselage and the axle.
STRUCTURE
FUSELAGE
Figure 2
FUSELAGE
Figure 3
(see Figure 4)
(see Figure 3)
TWIST CROSS-BEAMS
THROUGH
FUSELAGE
LEFT LONGERON
90°
