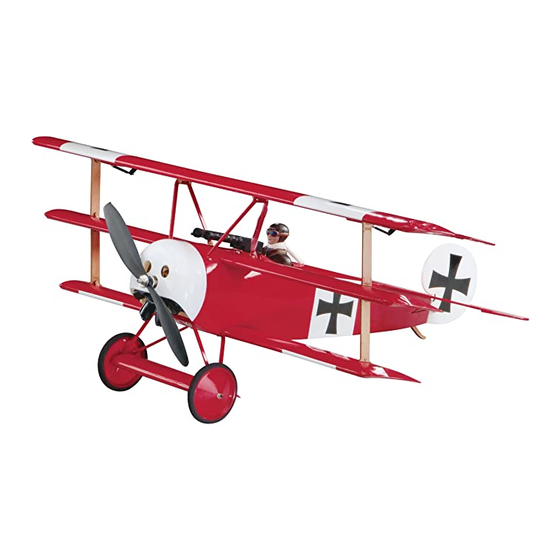
GREAT PLANES fokker DR-1 Manual de instrucciones - Página 15
Navegue en línea o descargue pdf Manual de instrucciones para Juguete GREAT PLANES fokker DR-1. GREAT PLANES fokker DR-1 20 páginas.

❏
3. Use clear tape to secure the aileron wire to the cabanes
as shown and hide the wire with the included segment of red
covering material.
Assemble the Pilot Figure
❏
1. Carefully trim the perimeter of the parts using a sharp
hobby knife.
❏
2. Sand each half using 150- or 220-grit sandpaper and a
Great Planes Easy-Touch
❏
3. Carefully join the halves with thick CA and lightly sand
the seam.
™
bar sander.
❏
4. Paint to suit your taste.
❏
5. A small piece of fabric has been provided as "scarf"
material for the pilot. After the paint has dried, tie it in place as
shown for a nice scale touch.
❏
6. The pilot can be attached to the former at the back of the
cockpit using medium CA. Before gluing, scrape the paint from
the pilot where it will attach to the former.
GET THE MODEL READY TO FLY
Check the Control Directions
Warning: Once the motor battery is connected to the
ESC, stay clear of the propeller.
❏
1. Switch on the transmitter and connect the motor battery
to the ESC. Move the throttle stick down to the off position.
Switch on the ESC and center the trims.
4-CHANNEL RADIO SETUP
4-CHANNEL
TRANSMITTER
ELEVATOR MOVES UP
4-CHANNEL
TRANSMITTER
RIGHT AILERON MOVES UP
LEFT AILERON MOVES DOWN
❏
2. Make certain that the control surfaces respond in
the correct direction as shown in the diagram. If any of
the controls respond in the wrong direction, use the servo
reversing in the transmitter to reverse the servos connected
to those controls. Be certain the control surfaces have
remained centered. Adjust if necessary.
❏
3. Follow the instructions included with your ESC to arm
the motor. Make sure the propeller is turning in the correct
direction. If not, refer to the ESC instructions to change the
direction of rotation.
15
(STANDARD MODE 2)
4-CHANNEL
TRANSMITTER
RUDDER MOVES RIGHT
4-CHANNEL
TRANSMITTER
FULL THROTTLE
