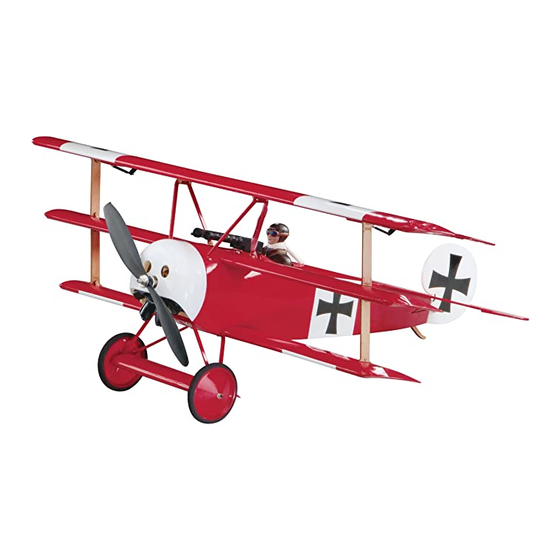
GREAT PLANES fokker DR-1 Manual de instrucciones - Página 9
Navegue en línea o descargue pdf Manual de instrucciones para Juguete GREAT PLANES fokker DR-1. GREAT PLANES fokker DR-1 20 páginas.

❏
2. Attach the RimFire motor to the back of the plywood
motor mount with three 3mm x 6mm [1/8" x 15/64"] machine
screws. Apply a drop of threadlocker on the threads of the
machine screws. Insert each of three 3mm x 30mm [1/8" x
1-3/16"] machine screws through a 3mm [1/8"] washer, the
outer holes of the motor mount, another 3mm [1/8"] washer, a
17mm [21/32"] tube, and another 3mm [1/8"] washer as shown
in the drawing. Apply a drop of threadlocker on the threads of
each screw and install the motor mount to the fi rewall.
❏
3. Cut a 20mm [3/4"] long piece of hook and loop material
(not included). Glue the 20mm [3/4"] soft piece (loop side)
to the back of the ESC. Glue the rough piece (hook side) to
the side of the fuse, next to the battery tray. Insert the ESC
into the battery door and through the cut-out just to the rear
of the fi rewall and secure it in place by joining the hook and
loop material. Route the servo lead into the wing opening
area and the three motor leads out the front of the fi rewall.
❏
4. Install a 3.5mm [9/64"] Bullet (male) to 2mm [5/64"]
Bullet (female) connector adapter (GPMM3122) on each of
the motor leads. Connect the motor leads to the ESC. Push
the wires up into the fuse to prevent them from contacting the
rotating motor case. Check the motor for proper rotation.
❏
5. Cut another 20mm [3/4"] long piece of hook and loop
material (not included) and glue the 20mm [3/4"] soft piece
(loop side) to the back of the receiver. Glue the rough piece
(hook side) to the top of the inside of the fuse on the ledge by
the cockpit opening. Insert the receiver and secure it in place
by joining the hook and loop material.
Install the Linkages
❏
1. Insert a control horn into the rudder slot and elevator
slot as shown. Use a hobby knife to enlarge the hole if
necessary. Once satisfi ed with the fi t, use CA to secure the
control horns in place.
❏
2. Insert the two 460mm [18"] wire pushrods into the
pushrod exits at the rear of the fuse as shown below.
❏
3. Insert the 90° bends of the 460mm [18"] pushrods into
the outer hole of the control horns and secure them with
the plastic retainers as shown. Place a drop of CA on the
outer surface of the plastic retainers.
Install the Servos
❏
1. Install the servo mounting hardware and servo arms
on the rudder and elevator servos. Trim off the unused servo
9
