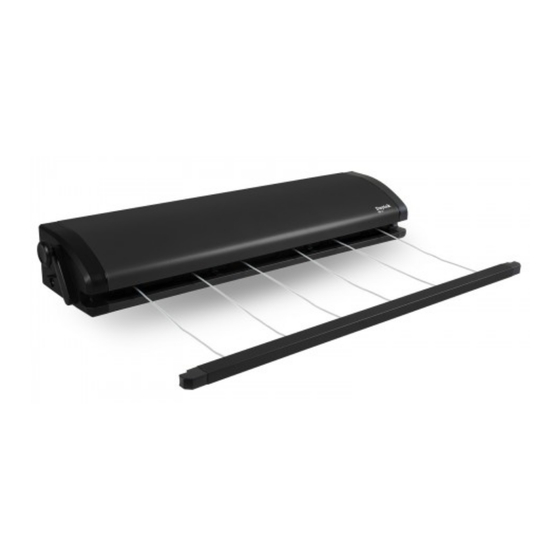
DAYTEK 5 LINE Manual del producto - Página 3
Navegue en línea o descargue pdf Manual del producto para Electrodomésticos DAYTEK 5 LINE. DAYTEK 5 LINE 4 páginas. Outdoor retractable clotheslines
También para DAYTEK 5 LINE: Manual de instrucciones (15 páginas)

3. Drill four mounting holes with 10mm
diameter x 50–60mm depth on the
bracket wall side. (See Fig. 3)
4. To install bracket, insert plastic plug into
the hole and secure bracket with screws
and tighten into position. Repeat to install
second bracket. (See Fig. 4)
5. To install cabinet, insert plastic plug into
the hole and affix screws leaving 10-15mm
distance from shoulder head to the wall.
(See Fig. 5)
6. Align and locate cabinet mounting hole
into screw and pull down slightly to secure
correctly. Ensure unit is sitting flat and if
required reduce distance of screw from the
wall to suit. (See Fig. 6)
VIEW FROM
ABOVE
OPERATING INSTRUCTIONS
IMPORTANT!
This clothesline is self-tensioning. LEVER IS NOT TO BE USED AS A WINDING
MECHANISM. With lever in the UNLOCK position, the clothesline will self-tension. Once
line has self-tensioned, rotate the lever into the LOCK position.
1. Check that the handle
knob is pulled out
and the lever is in the
UNLOCK position.
WALL
5
10-15mm
HANDLE
KNOB
LEVER
4 Line – 225mm
35mm
5 Line – 355mm
6 Line – 225mm
PRODUCT
CENTRE LINE
WALL
PULL
HANDLE
KNOB
OUTWARDS
3
35mm
4
6
MOUNTING HOLE
UNLOCK POSITION
