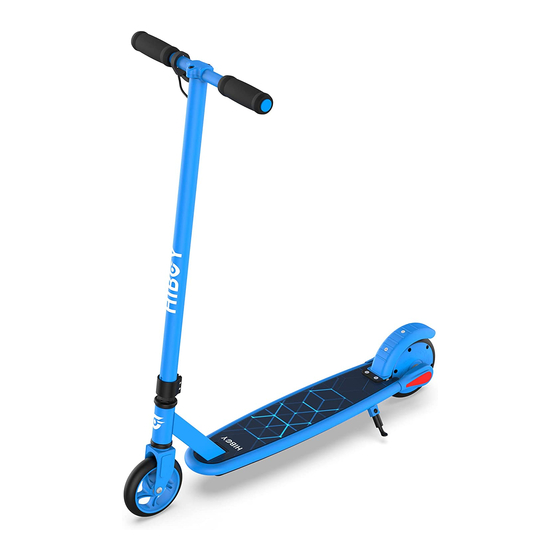
Hiboy N1 Manual - Página 4
Navegue en línea o descargue pdf Manual para Scooter Hiboy N1. Hiboy N1 11 páginas. Electric scooter for child

ASSEMBLY AND SET-UP
Attaching the Handlebars
Tool Required:
5 mm Allen Wrench
1 Using the 5 mm Allen wrench
loosen the handlebar clamp.
Attaching the T-bar
Tool Required: 5 mm Allen Wrench
1 Before inserting the T-bar onto the
fork, pull the connector through and
remove the rubber protector.
3 With the front wheel pointed straight
ahead and the handlebars square to
the front wheel and the Hiboy logo
facing the front, tighten the clamp as
shown. Tighten securely.
Need Help? Visit our website for replacement parts, product support, a list of authorized service centers in the US and customer service contact information
at www.Hiboy.com. Please have the product I.D. code (located on the white label of your product) available for better assistance. Additional Customer Service
contact information is listed at the back of this manual.
2 Insert the handlebar with the
throttle facing the rider.
2 Connect the connector on the T-bar to the
connection on the down tube and insert the
T-bar onto the fork.
3 Using the 5 mm Allen wrench
tighten the handlebar clamp.
3
WARNING: Failure to properly tighten
the collar clamp may allow the handlebars to
dislodge while riding and may cause you to
lose control and fall. When correctly tightened,
the handlebars will not rotate out of alignment
with the front wheel under normal
circumstances.
WARNING: Do not attempt to thread
the handle barinto the front fork thread.
Tighten clamp securely.
Note: The cable and wire assembly must be
tucked inside the fork before inserting the t-bar.
Sharp bends or twisting of the cables can
cause malfunction.
