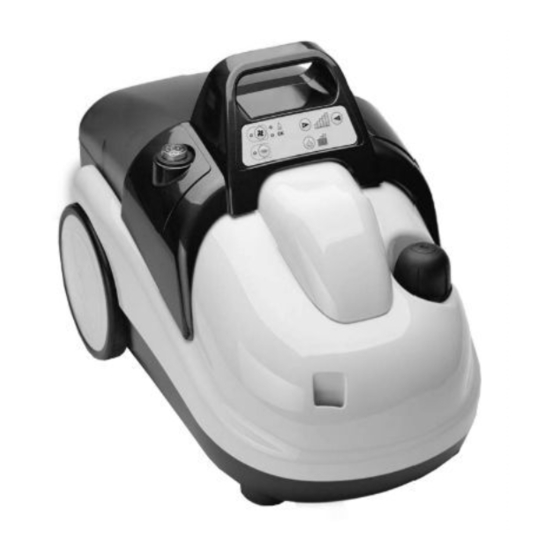
GAIA 8000 Manual de información general - Página 9
Navegue en línea o descargue pdf Manual de información general para Aspiradora GAIA 8000. GAIA 8000 18 páginas.

CONNECTING THE ACCESSORIES
The accessories can be connected directly to the handle of
the work hose (e)or to the extension hoses (a), when so required.
To secure the accessories to each other, simply fit the male end
of one into the female end of the other and rotate the locking
clasp. Fig 4.
Failure to secure the accessories using the clasp provided
can pose a hazard; the accessories can suddenly come off
while the machine is in operation.
All the following functions can be used with any one of the accessories provided:
-
steam function;
-
vacuuming function;
-
simultaneous vacuuming and steam functions;
To remove the accessories:
-
stop the steam function by operating the steam on/off button (f) on the handle of the work hose (e);
-
stop the vacuuming function by operating the vacuum on/off button (g) on the handle of the work
hose (e);
-
rotate the accessories locking clasp. Fig. 4.
Now, you can disconnect the accessories.
Connecting the bristled frames to the brush (b).
Two different types of frames can be attached to the large multifunction
brush to clean and care for all surfaces:
-
bristled frame with rubber lip attachments (c), suitable for hard
surfaces, for best steam collection;
-
bristled frame with attachments (d) suitable for loose and fitted
carpets, etc...
To change frames (c-d) simply slide the frames in or out in the
direction shown in the illustration. Fig. 5.
Connecting the nozzle (j) and small brushes (l).
For removing very stubborn dirt, use the nozzle with the small brush.
Switch on the steam while simultaneously working with the small
brush to loosen the dirt. Then stop the steam and use the vacuum
function to vacuum up the dirt.
To remove the small brush (l) from the nozzle (j), simply pull the brush.
Fig. 6
The nozzle is especially suitable for the cleaning of:
- Window frames
- Radiators
- Sinks and wash basins
- Interior surfaces of shower stalls,
- Tile joints on vertical and horizontal surfaces.
Fig. 4
Fig. 5
Fig. 6
24
j
l
