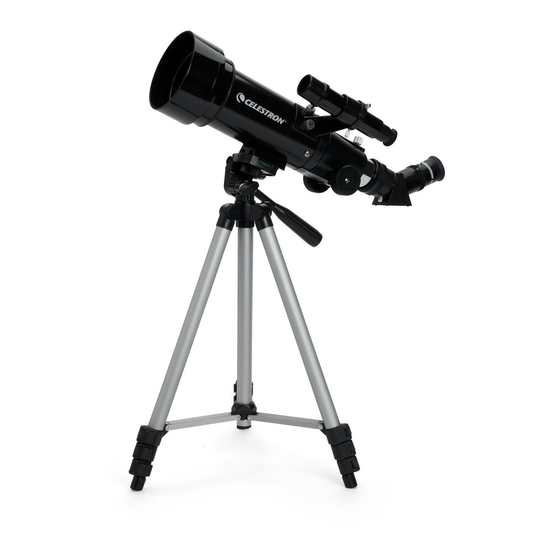
Celestron 21038 Travel Scope 50 Manual de instrucciones - Página 5
Navegue en línea o descargue pdf Manual de instrucciones para Telescopio Celestron 21038 Travel Scope 50. Celestron 21038 Travel Scope 50 18 páginas. Travel scope

This section covers the assembly instructions for your Travel Scope. Your
telescope should be set up indoor the first time so that it is easy to identify
the various parts and familiarize yourself with the correct assembly
procedure before attempting it outdoor.
The Travel Scope 70 comes in one box. The pieces in the box are –
telescope optical tube, tripod, erect image diagonal, 20mm eyepiece, 10mm
eyepiece, 5x24 Finderscope with bracket, CD-ROM ----- all packed in the
travel backpack.
The Travel Scope 50 comes in one box. All items the same as above except it has a 2x20 Finderscope and 8mm
eyepiece (instead of 10mm). In addition, the Travel Scope 50 includes a 3x Barlow Lens – 1.25".
Setting up the Tri pod
Setting up the Tri pod
1.
The tripod comes preassembled so that the set up is very easy – see
Figure 2-2.
2.
Stand the tripod upright and pull the tripod legs outward until each leg is fully extended – Figure 2-3.
3.
You can raise the tripod legs to the height you desire. At the lowest level the height is about 16" (41cm)
and extends to about 49" (125cm).
4.
To raise the height of the tripod, you unlock the tripod leg lock clamps at the bottom of each tripod leg
(Figure 2-4) by opening the clamp for each section by pulling outward. Once a clamp is unlocked, then
pull the tripod leg out as far as it will go and then close the leg lock to secure it. Continue doing this for
each tripod leg and each section to raise the height to the level you desire. A fully extended tripod looks
similar to the image in Figure 2-5. With all the legs raised up on all sections, the height will be about 42"
(107cm).
5.
If you want to raise the tripod height up further you must use the central column locking knob which is the
knob located at the bottom left in Figure 2-6. Turn the locking knob counterclockwise until loose. Then,
pull up on the head of the tripod and the central column will move up. Continue pulling to the height you
desire and then tighten the locking knob. When the central column is raised up as far as it will go, then the
maximum height possible is achieved – 49" (125cm).
Figure 2-3
Figure 2-4
5
Figure 2-5
Figure 2-1
Figure 2-2
Figure 2-6
