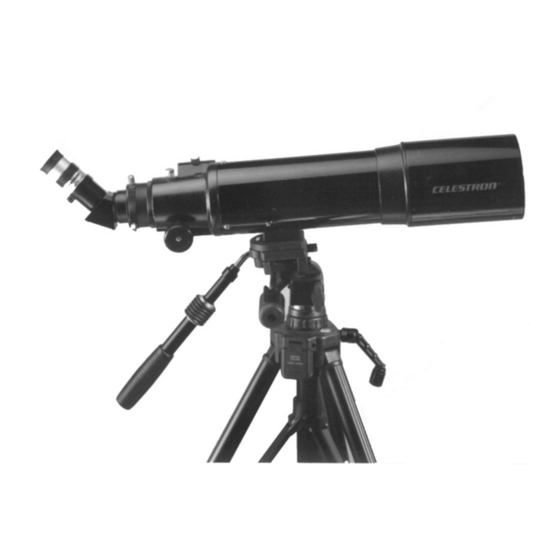
Celestron StarSeeker 80mm Manual de instrucciones - Página 10
Navegue en línea o descargue pdf Manual de instrucciones para Telescopio Celestron StarSeeker 80mm. Celestron StarSeeker 80mm 15 páginas. F80 eq wa 80mm (3.1”) refractor telescope
También para Celestron StarSeeker 80mm: Manual de instrucciones (17 páginas)

6.
The above method of polar alignment is adequate for casual observing. More precise methods of polar
alignment are available and most astronomy texts or telescope books describe the procedures.
7.
If you look at the North Star after this polar alignment procedure, your declination setting circle (#8)
should read 90° (the actual is 89.2°).
C.
Using the Setting Circles
Setting Circles are dials (or gauges) for right ascension and declination that allow you to locate celestial
objects easily from their coordinates as listed in a star chart or atlas.
1.
The declination setting circle is scaled in degrees and the right ascension setting circle is incremented
in minutes. The circles will get you close to your target but not directly on it. Also, the accuracy of
your polar alignment will affect how accurate your setting circles read.
2.
The declination setting circle is factory set and should not need any adjustment if it reads accurately as
noted in 4.B (7).
3.
The right ascension setting circle (#5) must be aligned. Choose a bright and easy to find star in a star
chart and note the coordinates (right ascension and declination). Find the star and center it in the
finderscope and then in the telescope. Now, rotate the right ascension circle to match the coordinates
of the star with the indicator mark.
4.
The right ascension setting circle does not move as the telescope moves in right ascension and thus it
must by aligned each time you want to use it to find a new object. However, you do not need to use a
bright star each time but you can use the object you are currently observing.
5.
Now, using a star chart or atlas you can find numerous objects. First move the telescope in declination
to the correct declination coordinate. Then move the telescope in right ascension until the indicator
points to the correct coordinate.
6.
After moving the telescope to the correct celestial coordinates, look through the finderscope to see if
you have located the object and center the object. Then, look through the telescope (with a low power
eyepiece) and the object should be there.
On fainter objects, they may not be visible in the finderscope and thus you should gradually sweep the
telescope around (with the right ascension and declination cables) until the object is visible.
5. MAGNIFICATION (POWER)
The magnification (or power) of a telescope is variable depending upon the focal length of the eyepiece
being used along with the focal length of the telescope.
A. Your telescope has a focal length of 400mm.
To calculate the magnification we use the following formula:
where FL(telescope) is the focal length of the telescope and FL(eyepiece) is the focal length of the eyepiece.
So, if you use a 25mm eyepiece your magnification is 400/25 = 16x.
FL telescope
(
Magnification
FL eyepiece
(
)
)
12
