Celexon INF200 Manual de instrucciones - Página 6
Navegue en línea o descargue pdf Manual de instrucciones para Pantalla de proyección Celexon INF200. Celexon INF200 10 páginas. Inflatable outdoor screen
También para Celexon INF200: Manual de instrucciones (12 páginas)

Construction
Step 3:
In the same way, continue with the two shorter sides and end with the bottom of
the screen.
As a result, the velcro should be fastened to the inside of the frame right the way
around.
It is essential that the velcro is spread evenly right the way around the frame to
provide equal tension all over the screen thus providing the optimal flatness of the
material.
Depending on the temperature, the material may vary slightly in size. If the material
seems too small place the cloth in a warm room for a few hours in order to reach the
„normal" material size.
Always pull the cloth only on the outer, sewn tape, not on the PVC material itself,
in order not to overstretch the material and not to cause unsightly deformation or
damage.
Please note, the Velcro strip on the frame side is much wider than that of the clo-
th,this gives you the greater flexibility on where the tension is applied.
Step 4:
Place the pump behind the screen and attach the air hose of the frame around the
air outlet of the pump.
For this purpose, you will find two cords at the end of the air hose. Use the first
position if there is not enough space behind the screen to place the blower at a
maximum distance. Roll up the hose as far as you can and put it over the air outlet of
the pump, tie the cords around it securely.
Alternatively, use the second pair of cords to position the pump at the full extension
of the hose.
Then connect the pump to a power source and turn it on. The frame should be filled
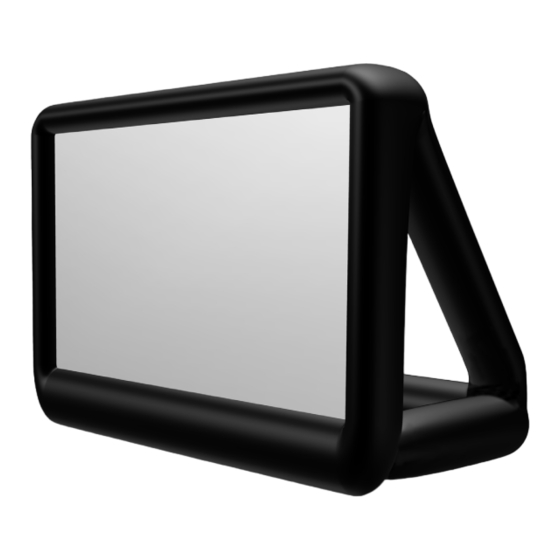
with air within minutes (Fig. 2). The air hose must run not be obstructed or blocked
so that the product works optimally.
5
