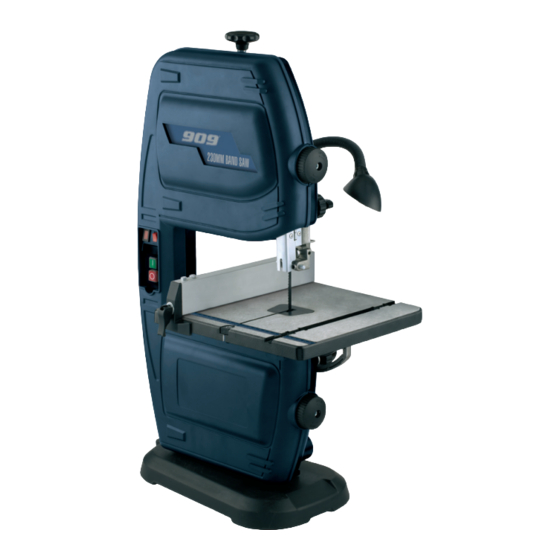
909 BS9 Manual de instrucciones - Página 14
Navegue en línea o descargue pdf Manual de instrucciones para Sierra 909 BS9. 909 BS9 16 páginas. 230mm (9") band saw

6. Remove the blade by
guiding it through the
slot in the work table
and the upper and lower
blade guides.
7. Fit the new saw blade
ensuring that the teeth
are pointing towards the
front of the saw where
the doors are.
8. Lightly tension the new blade
by rotating the blade tension
knob.
9. Centre the band saw blade on
the rubber tyres of the band
saw wheels.
10. Turn the upper wheel by
hand to ensure the blade is
running in the centre of the rubber-lined wheels.
11. If required, adjust the saw blade tracking.
12. Once the tracking is correct, tighten the blade tension
knob. Adjust the thrust bearings and guide pins as
described earlier.
13. Close the housing doors.
14. Place the lower blade guard back into position and fit
the hex screw to secure the guard in position.
15. Replace the table insert.
16. Attach the bracket to the front of the work table by
tightening the hex head screw using the 10mm wrench.
Operation
1. Adjust the bevel angle, rip fence, mitre gauge and upper
blade guide as required.
2. Ensure that the table insert is in place and flush
with the table.
3. To start the saw push the on/off switch to the
'ON' position.
4. To begin the cut guide the wood into the moving
saw blade.
5. Use only enough pressure to keep the saw cutting. Do
not force the cutting, allow the blade and the saw to do
the work.
6. When cutting on a bevel angle ensure that the rip fence
is located on the right hand side of the blade.
7. When cutting rod, use a jig or fixture to prevent the
workpiece from turning.
8. When cutting boards vertically, use a suitable push block
to feed the workpiece into the saw.
9. Once finished turn off the tool by pushing the red button
on the switch cover and unplug the tool from the power
point to prevent unauthorised use.
Power cord maintenance
If the supply cord needs replacing, the task must be carried
out by the manufacturer, the manufacturer's agent, or an
authorised service centre in order to avoid a safety hazard.
Cleaning
1. Keep the tool's air vents unclogged and clean at all times.
2. Remove dust and dirt regularly. Cleaning is best done
with a soft brush or a rag.
3. Re-lubricate all moving parts at regular intervals.
4. Never use caustic agents to clean plastic parts.
CAUTION.
Do not use cleaning agents to clean the
plastic parts of the tool. A mild detergent on a damp
cloth is recommended.
General inspection
Regularly check that all the fixing screws are tight. They
may vibrate loose over time.
14
