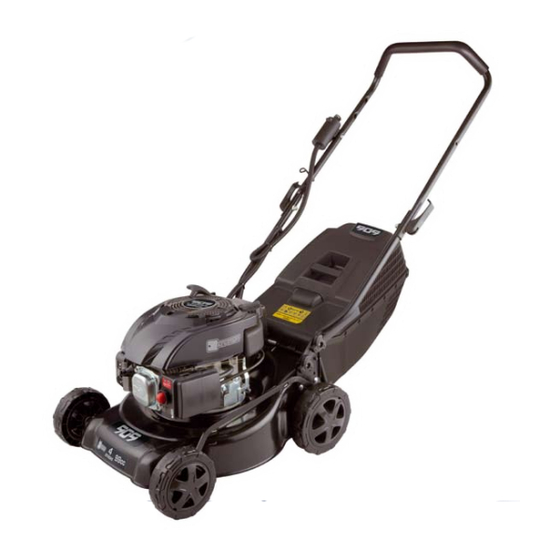
909 ES99 Manual de instrucciones - Página 16
Navegue en línea o descargue pdf Manual de instrucciones para Cortacésped 909 ES99. 909 ES99 20 páginas. 99cc 400mm (16") electric start 4 stroke petrol lawn mower

Engine tipping
When cleaning, or performing any maintenance such as
replacing the blades, it is very important that the mower
is only tipped backwards. Failing to do so will result in the
engine oil flowing into the cylinder and muffler making
starting very difficult if at all. Should this occur, the mower
should be taken to a mower repair shop which is not
covered under warranty.
Poor engine performance
Should the engine idle or run rough at full speed with
excessive bluey/black smoke emanating from the muffler,
it is possible that either the engine was slightly tipped
incorrectly (refer above) This can also occur in the initial
transport from the factory.
Continual running of the motor will burn out any excess oil in
the combustion area. If the smoking of the motor continues,
take the mower to a service centre to be reviewed.
Replacing the blades
Note.
Before making any adjustment or maintenance
procedures to the mower ensure it is turned off and the
spark plug lead is removed.
Note.
Wear heavy gloves to
protect your hands.
1. Tilt the mower back so the
spark plug is facing up.
2. Remove the blade mounting
plate with a spanner (not
supplied) to remove the centre
bolt. Move bolt in an anti-clockwise direction.
DO NOT remove the blade mount
drive from the motor spindle.
Should the blade mount drive
detach or slide off the motor
spindle, ensure to replace the
small key in the keyway of the
spindle and blade mount drive.
3. Remove both single blades
including the washer and nuts.
4. Clean dirt and grass from around the blade mounting area.
5. Always replace both blades to ensure a smooth even cut.
Pass the bolt through the blade and fit the thin domed
washer. Place the blade bolt through the blade mount
plate and fit the large flat washer. Secure with the nyloc
nut and tighten to 25-30Nm.
Repeat for the opposite side.
6. Replace the blade mount
plate and retighten the central
blade onto the blade mount
drive. Ensure the 2 drive lugs
correctly engage on the blade
mount.
16
