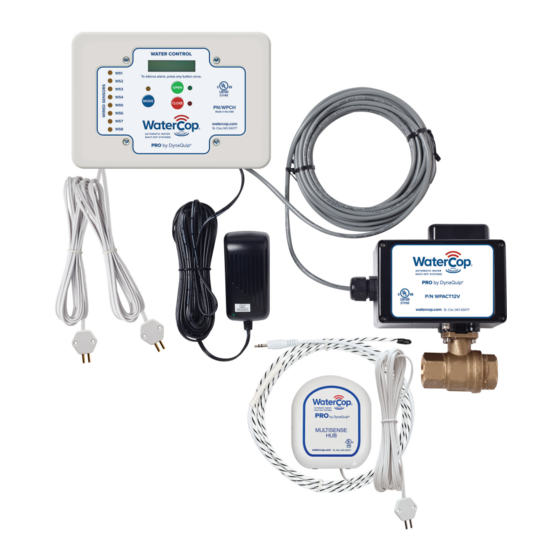
DynaQuip WaterCop WEXT6 Manual del propietario y manual de instalación - Página 8
Navegue en línea o descargue pdf Manual del propietario y manual de instalación para Sistemas de control DynaQuip WaterCop WEXT6. DynaQuip WaterCop WEXT6 16 páginas.

To Remove Wireless Sensors
If you need to remove a wireless sensor for
any reason, follow these instructions:
•
Press MODE three times (DEVICE REMOVE
will display on the LCD) .
•
Press CLOSE to cycle through the loaded
sensors to choose the sensor(s) you wish
to remove .
•
Press OPEN to remove the selected sensor
from the Water Control Panel's memory .
•
Press MODE one more time to return to the
main screen (WaterCop® NORMAL) .
•
Hardwired sensors can be removed,
however the unit will need to be factory
reset and all sensors reprogrammed .
Pre-Installation Testing of WaterCop® Pro
Although each unit is pre-tested at the factory, it is highly recommended that the unit be tested
prior to installation to ensure proper operation at the property . Operating the valve before
connecting it to the water line will not damage it .
USE CAUTION!
Be extremely careful to keep fingers and other items out of the valve.
Wiring Instructions
Water Control Panel
The WaterCop® Pro Actuator comes with a 25', 50' or 75' cable for wiring into the Water
Control Panel . Following the color code in the wiring diagram, wire each colored wire into the
appropriate terminal .
To wire the Water Control Panel into an alarm system, wire the two terminals titled ALARM into
the security system . The ALARM relay is a dry contact relay and will only trip if water is detected
or dead battery sensor has turned the water off and the audial alarm turns on . It will trip off when
the valve is opened after water is no longer detected . The TROUBLE relay will trip if there is a
short, low battery, or open situation .
WARNING!
8
The valve closes with enough force to cut off a finger.
If the power cord was removed from its terminals, the positive wire is
the one with the stripe on the insulation. Do not reverse the polarity of
the power cable. Do not reverse the polarity if using optional adapter!
The positive lead is the one with the stripe on the insulation.
To Enable Safe Mode
Close the valve then press and hold down
the MODE button . While holding the
MODE button, press OPEN, then release
both buttons .
To Disable Safe Mode
Close the valve then press and hold down
the MODE button . While holding the
MODE button, press CLOSED, then release
both buttons .
To verify if Safe Mode is enable or disabled,
press the MODE button while the valve
is closed .
