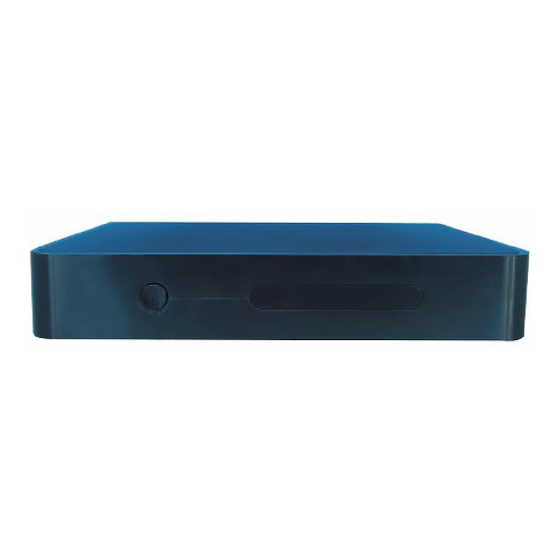
Galaxy Innovations Gi FLY T2 Manual - Página 8
Navegue en línea o descargue pdf Manual para Descodificadores Galaxy Innovations Gi FLY T2. Galaxy Innovations Gi FLY T2 20 páginas.

P 4-2-4
Move: Move the censor to the clarification
and press【MENU】or hold【OK】to show
the menu, and select COPY or MOVE to
move the clarification P4-2-5:
P 4-2-5
Delete APK:Move the censor to the
clarification and press【MENU】or hold【OK】
to show the menu, and select DELTE, and
press OK to confirm.
Main APK application function introduces:
Browser:IE Browser, connecting Google
by default. If you want to log in other website,
please use remote control or fly mouse to
input the website address you want, for
detailed information please take a reference
on Internet Function part.
Email: Built-in email software, send and
receive emails at any time. Input correct
Email address and password, click NEXT and
log in.
Video player: Play all the videos from
storage device, including SD card, USB, etc,
support various mode of AVI、WMV、MPEG.
Music player: Support various formats
of music, play your favorite song at any time.
14
Picture browser: Clear picture browsing
modes help you browse local pictures quickly.
Installation: Read the installation file from
the storage device, click to install the software
you want.
4.3.System Setup
Press【 / 、 / 】and【OK】to enter in
"System Setup". Then you can use the same
way to enter in from main UI.
P 4-3-1
Detailed setting method will be explained
as following.
4.3.1.Wireless & Internet
Press【 / 】and【OK】to to enter in "
Settings", like 4-3-2 showing.
P 4-3-2
Wi-Fi:Turn on or turn off WLAN function
Choose upper right "BLUE" button, then
press【OK】button. WIFI is open when it
shows "ON".
Wi-Fi Setting:Setup and manage
wireless access point.
System will auto search Wi-Fi Internet when
Wi-Fi is open and display the result on Interface.
If no internet is searched, you can add WLAN
access point by hand.
Adding WLAN access point by hand:
Following options are in Wi-Fi list:
Scanning:Automatically scan WIFI
wireless internet
Add network: Press【OK】button, the
dialog box pops up, as shown in picture 4-3-3
P 4-3-3
Advanced setup Interface is as below:
Choose Static state IP:Choose whether
to use Static state IP mode.
If choose static state IP mode, the IP address,
Gateway, Netmask and DNS become available,
you need to setup this parameter correctly.
If not, all these settings are invalid.
4.3.2.Ethernet Settings
Ethernet :Click this option , press【OK】
button to turn on or off Ethernet
Ethernet configuration:Set Internet
IP and other parameters,Click this option,
entering Ethernet configuration interface.
P 4-3-4
In the interface of Ethernet configuration:
Ethernet Equipment:Currently can be
applied Ethernet equipment "eth0" acquiescently.
Connecting mode:
1) DHCP Mode:Auto obtain IP address
mode.
2) Static state IP:Static IP mode
When choose Static state IP mode, you need
to setup all IP parameters correctly and save it.
4.3.3.Phone Remote
P 4-3-5
Phone Remote:Turn on/off Mobile Remote
function
Boot:Set it whether start when receiver
boot
4.3.4.Display Setup
Press【OK】to enter in "Display".
P 4-3-6
1)Output mode:Set TV output mode,
including 720p, 1080p, etc.
2)Double Output mode:Set double
Output mode
3)Display position: Set TV representation
rate to adjust screen size.
4)Font Size: Set system font size.
4.3.5.Applications
Choose "Apps" and press【OK】to enter in,
like Picture 4-3-7 shows:
15
