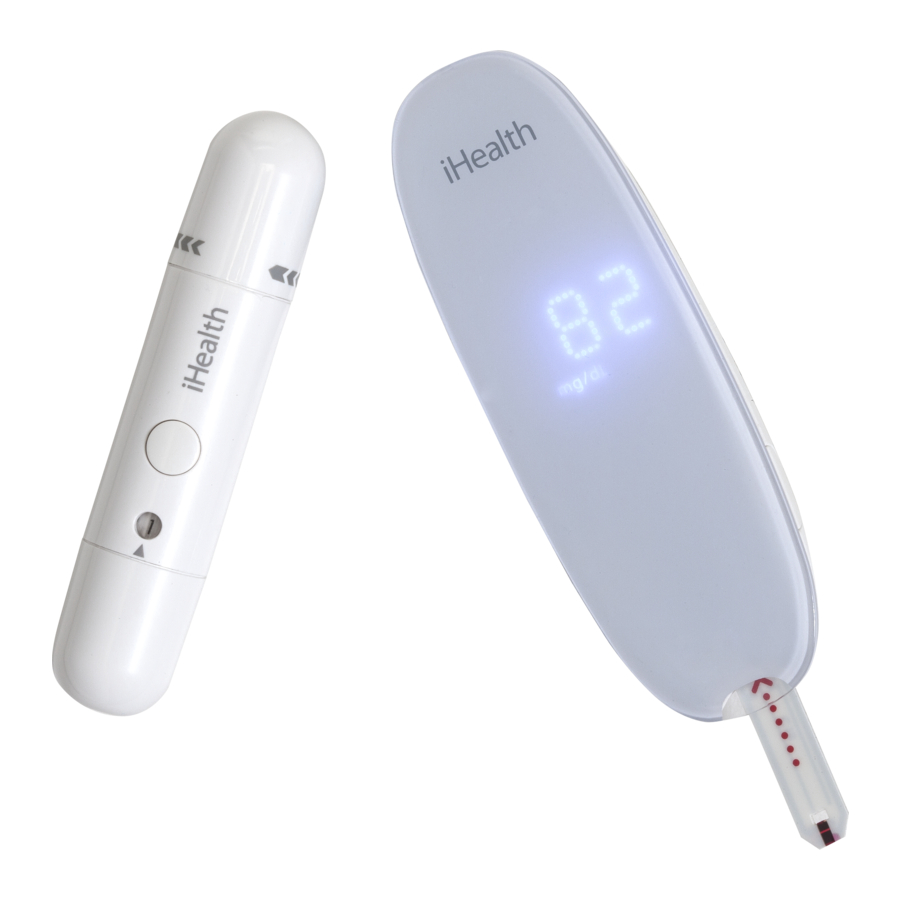
iHealth BG5 Manual de inicio rápido
Navegue en línea o descargue pdf Manual de inicio rápido para Medidor de glucosa en sangre iHealth BG5. iHealth BG5 13 páginas. Wireless smart gluco-monitoring system
También para iHealth BG5: Manual del usuario (16 páginas), Manual de inicio rápido (2 páginas), Manual de inicio rápido (7 páginas)

Wireless Smart Gluco-Monitoring System (BG5)
EN
Quick Start Guide
IMPORTANT: Refer to the iHealth Wireless Smart
Gluco-Monitoring System's Owner's Manual for more
detailed instructions on how to test blood glucose levels.
PRE-SET UP INSTRUCTIONS
• iOS device is compatible and is version V5.0 or higher.
Wireless Smart Gluco-Monitoring System PACKAGE
CONTENTS
Wireless Smart Glucose Meter
Head
Main Body
Release Button
Remove Lancet Part
Cap (for finger testing)
Absorbent Hole
Confirmation window
Test strip handle
Contact bars
Clear Cap (for testing sites
other than the finger)
DOWNLOAD THE FREE iHealth APP
Prior to first use, download and install the free App
"iHealth Gluco-Smart" from the App Store. Follow the
onscreen instructions to register and set up your personal
account.
Connect the Glucose Meter to your iOS Device via
Bluetooth
• Press and hold the "Memory" button for 3
seconds to turn the meter on. At the same
time, turn on Bluetooth function on your
iOS device.
• In the Bluetooth menu, select the model
name "BG5xxxxxx" and "Not Paired" to
pair and connect. When the "
symbol appears on the meter, the meter is
in Bluetooth communication mode.
• Each subsequent time you use the meter
"Not Connected" will be displayed next to
"BG5xxxxxx" in the Bluetooth Menu. Tap "Not
Connected" to reestablish the Bluetooth connection.
MEASUREMENT INSTRUCTIONS
Step 1: Open the Bluetooth capabilities of the IOS
device
Step 2: Scan QR Code on Top of the Test Strip Vial
When you are ready to open a new test strip vial, you must
scan the QR Code on it. It is unnecessary to scan the QR
Code for each test
Step 3:Insert the test strip in the meter's Strip Port to
turn on the meter
Step 4: Prepare the Lancing Device
"
