9dot LiteSync Manual - Página 10
Navegue en línea o descargue pdf Manual para Equipos de laboratorio 9dot LiteSync. 9dot LiteSync 17 páginas.

Before turning on the device it is advisable to connect the ground terminal, fix the chassis to the cabinet or to the wall, insert
the chosen GigaKey keys and connect the signal cables, in particular:
•
Ethernet cables.
•
Coaxial cable and GPS antenna or cable with RJ12 connector (in case you need to acquire the sync pulse).
•
Wire up the power supply (optional standalone power supply ACDC-48 or ACDC-24 supplied by 9dot).
•
Connect the power supply pins of the power supply paying attention to the polarity adopted.
•
Connect the power supply to the electricity.
These cables are not supplied with LiteSync and must be purchased separately
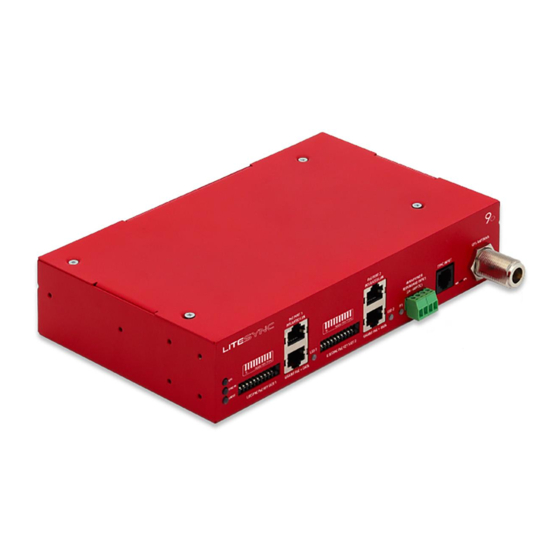
Physical interface
LED coding
General state of the unit
To know the general status of LiteSync, consider the first 3 LEDs arranged vertically on the left of the front.
LED
Color
GPS
green flashing 200ms
AUX
green flashing 200ms
STATUS
Blue fixed
Legend LED 1 and LED 2
Color
Red flashing
Red
Violet flashing
Blue flashing
Blue
Consultare la sezione "Antenna GPS" per vedere gli accessori venduti da 9dot
3
LITESYNC MANUAL
Description
presence of the synchronization pulse from integrated GPS
presence of the sync pulse from the SYNC INPUT port
properly functioning device
Table 1 - general status indication LEDs
Description
port disabled due to a short circuit
GigaKey inserted incorrectly or invalid
GigaKey is missing
port enabled, no load connected
port enabled with Cambium Sync and load detected
Table 2 - LED indications on the cartridge
.
3
10
VER. 2 REV. 0
