Copernicus Tech Tub2 FTT2010-USBAUS Manual de montaje - Página 10
Navegue en línea o descargue pdf Manual de montaje para Cargador de batería Copernicus Tech Tub2 FTT2010-USBAUS. Copernicus Tech Tub2 FTT2010-USBAUS 13 páginas. Trolley
Actual Size:
2
FTT706
ONLY
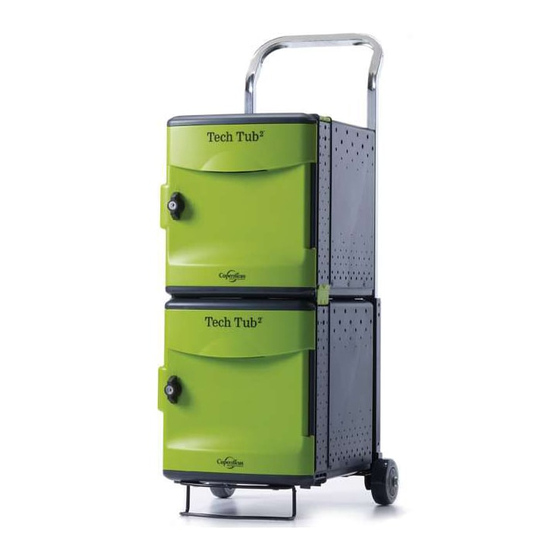
Attach the Tech Tub to the Trolley Frame
1
Fit Trolley Onto Back of Tech Tub
!
Ensure the tabs on the base of the trolley are
fully inserted into the feet on the Tech Tub .
Actual Size:
3
B
C
FTT2010,
FTT2010-USB,
FTT2010-USBAUS
ONLY
D
Fasten Extension Bracket to top Holes on Trolley Handle
Pay Attention to Orientation of Brackets When Installing Them Onto the Trolley Handle
10
FTT706_2010_2010-USB_2010-USBAUS - Version A - Released August 13, 2020 - Copernicus Educational Products Inc.
M5 Washer
F
2x
M5 Lock Nut
G
2x
®
2
M6 Acorn Nut
2x
M6 Washer
2x
M6 Lock Washer
2x
You will need: (Not to Scale)
2
Fasten Hardware Through Inside of Tech Tub
G
2
®
You will need: (Not to Scale)
Extension
Bracket
2x
B
D
C
C
Trolley Handle
1x
Trolley Frame
1x
F
F
G
Trolley Handle
1x
Trolley Frame
1x
B
D
Longer stud
goes through
Trolley Handle