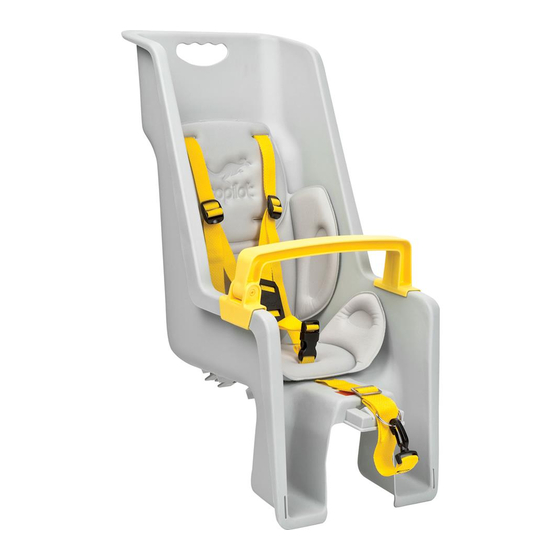
CoPilot LIMO 7053001 Manual de instrucciones y seguridad - Página 5
Navegue en línea o descargue pdf Manual de instrucciones y seguridad para Accesorios para bicicletas CoPilot LIMO 7053001. CoPilot LIMO 7053001 19 páginas. Child seats

Note:
For bicycles without seat stay "Braze-ons" use vinyl
coated Seat-Stay Clamps (2 sizes included). Attach
with 10mm screws and nylock nuts.
Step 4
Adjust rack until rack top is level with ground by
sliding it on extenders until level. Tighten all rack
screws & nuts.
Step 5
Install re ector bracket over rack and tighten with
re ector and re ector screw from your bicycle.
WARNING! Do not modify rack or bicycle. If rack will not t
!
on your bicycle, consult your local dealer or call 1-800-456-2355
for assistance.Periodically check all nuts and bolts for tightness.
SEAT INSTALLATION
Step 1
Place the seat onto the EXPEDITION 1 or EXPEDITION
1 Disc rack and slide rmly forward until you hear
the distinctive "CLICKS" made by both the forward
and rear Security Catches engaging the rack.
Illustration D.
Step 2
Check the security of the seat by rocking the seat
side to side and pushing it forward and backward.
There should be very little movement between the
seat and rack. If there is movement, remove the
seat and try again.
Forward Security
Catch
"Click"
"Click"
Rear
Security
Catch
Illustration D
WARNING! Both Security Catches must be in the engaged
!
position. If they are not, the seat may fall from the bike. Consult
your Copilot dealer or call 1-800-456-2355 if you are unsure about
the proper t of the child seat on the Blackburn EXPEDITION 1 or
EXPEDITION 1 Disc rack. DO NOT modify the seat or the rack!
Rear
Security
Catch
Security Bar
Illustration E
Step 3
Insert the Security Bar into place behind the rear
Security Catch. To insert, press down on the Security
Catch where the child seat ts into the rear of the
EXPEDITION 1 or EXPEDITION 1 Disc rack. Illustration E.
WARNING! Failure to properly attach Security Bar into the
!
rear of the seat could result in seat falling off the rack.
SECURITY STRAP ATTACHMENT
Step 1
Wrap Security Strap
around the seat tube or
saddle pillar. Illustration
F.
Hint:
To loosen, slide buckle
towards you. To remove
slack, slide buckle back
towards child seat.
Step 2
Hook clip onto D-ring.
Step 3
Tighten strap so there is no slack.
WARNING! It is possible for the seat to fall from the rack if
!
Security Strap is not attached.
SEAT POSITIONING CHECK
Step 1
Verify that the CG
(Center of Gravity) hash
marks located on either
side of the seat do not
extend more than 10 cm
(4 inches) rearward of
the center line of the rear
axle of the bicycle.
Illustration G.
WARNING! Positioning the seat any farther back will
!
increase the risk of a loss of steering and/or braking control.
D-Ring
Clip
Illustration F
(Limo Model Only)
CG Mark
10 cm (4 inches)
Illustration G
3
english
