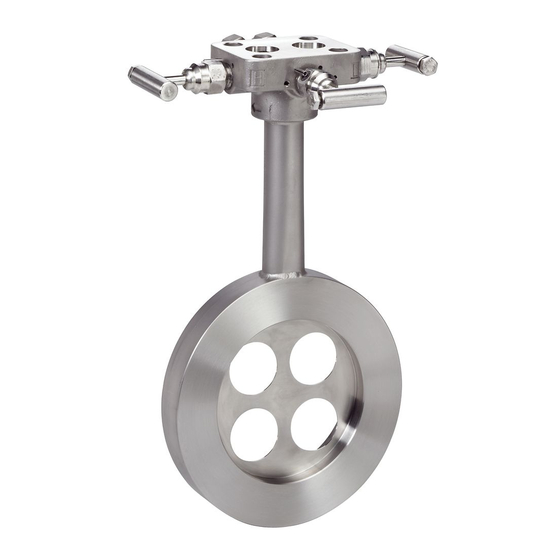
Emerson Rosemount 405P Manual de inicio rápido - Página 10
Navegue en línea o descargue pdf Manual de inicio rápido para Equipamiento industrial Emerson Rosemount 405P. Emerson Rosemount 405P 18 páginas. Compact primary element

Quick Start Guide
3.0 Primary element installation
1. Orient the assembly according to the guidelines provided in
orientation" on page
405 Primary Element is pointing in the same direction as the process flow.
Note
ANSI 150 - 600# alignment ring is included as standard when ordering for up to 8-in. line
sizes. For the 10-in. and 12-in. line size, the alignment ring must be ordered (Installation
Accessories). If a DIN or JIS alignment ring is required, it must be ordered as an option.
Contact an Emerson Process Management sales representative for additional information.
Note
For ease of installation, the gasket may be secured to the flange face with small pieces of
tape. Be sure the gasket or tape does not protrude into the pipe.
2. If using an alignment ring with through holes, proceed to
3. Insert two studs through the flange holes located opposite the head of the
Rosemount 405.
4. Place the alignment ring on the Rosemount 405 body (see
5. Insert gaskets.
6. Insert the Rosemount 405 between the flanges so the indentations on the
alignment ring contact the installed studs. The studs must contact the
alignment ring in the indentation marked with the appropriate flange rating
to ensure proper alignment.
7. Install remaining studs and nuts (hand tight). Ensure three of the studs are in
contact with the alignment ring.
8. Lubricate studs and tighten nuts in a cross pattern to the appropriate torque
per local standards.
Step 9
through
9. Place the alignment ring on the Rosemount 405 body (see
page
6).
10. Insert the Rosemount 405 between the flanges.
a. Starting on the side opposite the Rosemount 405 head, rotate the
alignment ring such that the radius corresponding to the alignment ring
marking matches that of the application flange rating.
b. Insert one stud through both the upstream and downstream flanges and
allow the ring to rest on the bolt. This will ensure proper alignment.
11. Repeat
Step 10
alignment ring.
12. Insert gaskets.
13. Install remaining studs and nuts (hand tight). Ensure three of the studs are in
contact with the alignment ring.
14. Lubricate studs and tighten nuts in a cross pattern to the appropriate torque
per local standards.
10
5. Ensure the flow arrow stamped on the
Step 12
are for use with alignment rings that have through holes.
for the installation of the remaining bolts that will contact the
June 2016
"Primary element
Step
9.
Figure 10
).
"Horizontal gas" on
