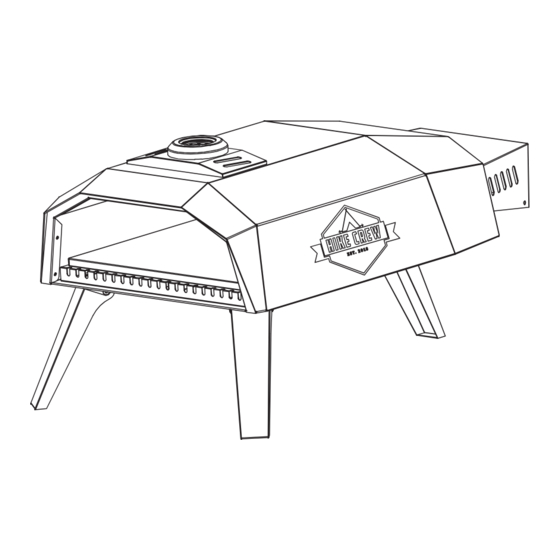
HIKE CREW HCGPOV12 Manual del usuario - Página 8
Navegue en línea o descargue pdf Manual del usuario para Electrodomésticos de cocina HIKE CREW HCGPOV12. HIKE CREW HCGPOV12 14 páginas. 12” outdoor propane pizza oven

GAS LEAK TEST
1. Make sure the control valves are in the OFF position and turn on the gas supply.
2. Check all connections with soap and water or soap solution from the gas regulator and supply valve to the connection of
the hose and gas terminal on the burner. Soap bubbles will appear where a leak is present.
3. If a leak is present, immediately turn off the gas supply and tighten the leaky fittings.
4. Turn the gas back on and recheck.
5. Turn off the gas and contact your local dealer if the leak continues.
GAS FLOW CHECK
Each oven burner is tested and adjusted at the factory prior to shipment. The flames of the burners should be visually
checked. Flames should be blue and stable with no yellow tips, excessive noise or lifting. If any of these conditions exist, check
to see if the air shutter or burner ports are blocked by dirt, debris, spider webs, etc. If you have any questions regarding flame
stability, please contact customer service at [email protected] or call 1-833-855-1816.
⚠ATTENTION: Always check for leaks after every tank change. Check all gas supply fittings for leaks before each use.
It is handy to keep a spray bottle of soapy water near the shut-off valve of the gas supply line. Spray all the fittings.
Bubbles indicate leaks. It is advisable to change the gas hose every two to three (2-3) years.
⚠WARNING: Gas leaks could cause fire or explosions causing serious injuries or damages. In case of a gas leak, do
not light the oven and determine the reason for the leak in order to prevent fire and/or explosion.
OPERATING INSTRUCTIONS
NOTE: Always wear heat-resistant gloves when operating the pizza oven.
1. First, make sure the control knob on the burner is in the OFF position.
2. Slowly turn the valve on the propane gas tank to start the gas flow.
3. Push in and turn the control knob on the burner to power the oven and control the flame output. You will hear a snapping
sound indicating that the burner is lit.
4. Turn the control knob up and down to adjust between high and low to control the flame.
5. Allow the oven to preheat for at least 15 - 20 minutes.
NOTE: Pizza oven heats up to 925 °F however pizza should be added in once the pizza oven reaches 750 °F . Do not
cook the pizza until it reaches the appropriate temperature.
6. Once the oven finishes preheating, use the pizza peel to pick up your uncooked pizza and place it in the oven.
NOTE: Be aware that it is normal for the heat emitting from the pizza oven to fog up the temperature gauge slightly.
7. Rotate your pizza with the pizza peel every 15 to 20 seconds to evenly distribute the heat to every part of your pizza.
8. Once your pizza crust has a nice even char all around, use the pizza peel to remove the pizza from the oven.
8
