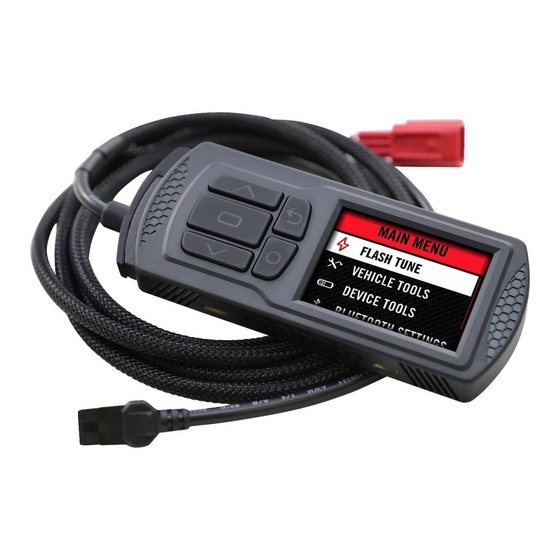
Dynojet POWER VISION 3 Manual de instalación - Página 5
Navegue en línea o descargue pdf Manual de instalación para Accesorios para automóviles Dynojet POWER VISION 3. Dynojet POWER VISION 3 8 páginas. 2020-2021 honda rubicon/foreman/trx520
También para Dynojet POWER VISION 3: Manual de instalación (9 páginas), Manual de instalación (7 páginas), Manual de instalación (8 páginas)

VIEWING THE VEHICLE INFORMATION
This menu allows you to view the device status (paired/not
paired), VIN #, Model ID, ECU serial number, tune compat, and
checksum compat.
Select Vehicle Tools>Vehicle Information.
VIEWING THE DIAGNOSTIC CODES
This menu allows you to read and clear diagnostic trouble
codes.
1
To read codes, select Vehicle Tools>Diagnostics>Active
Codes.
2
To clear codes, select Vehicle Tools>Diagnostics>Clear
Codes.
READING THE ECU
This menu allows you to read the ECU. This process takes
about fi fteen minutes.
Select Vehicle Tools>Read ECU.
RESTORING THE ECU
This menu allows you to restore the ECU. Use Restore ECU if
the device does not complete the fl ash or if your vehicle will
not start.
Select Vehicle Tools>Restore ECU.
CONFIGURING GAUGES
Make your Power Vision device yours; display the channels
you want to see with four user-customizable full-color gauge
screens. Each gauge screen has four confi gurable channels.
Monitor channels such as Wideband, AFR, Boost, and integrated
belt temperature sensor. Sample gauges shown here; for
a complete list of monitors available, open the tune fi le in
Power Core or scroll through the gauges on the device when
confi guring or selecting channels for the list of options.
1
From the Main Menu, select Device Tools > Confi gure Gauges.
2
Select a gauge screen and press Enter.
3
Select a channel and press Enter.
4
Select a channel from the list and press Enter.
5
Select the precision or units for that channel and press Enter.
6
Continue setting up the remaining channels as desired.
7
Continue confi guring the remaining gauge screens as desired.
5
