Gama Sonic GS-105FPW Manual de instrucciones - Página 5
Navegue en línea o descargue pdf Manual de instrucciones para Linterna Gama Sonic GS-105FPW. Gama Sonic GS-105FPW 6 páginas. Baytown ii solar lamp
También para Gama Sonic GS-105FPW: Manual de instrucciones (7 páginas)
Installation Instructions
GS-105F
Note: If you are replacing an existing gas/electric post light, you must
consult a certified technician to disconnect them before installation.
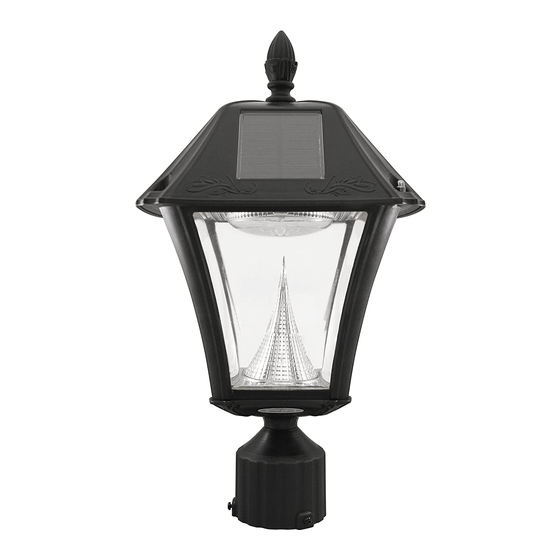
1. Position Part (D1) on top of your existing 3" post and tighten it using
the screws provided.
Installation Instructions
GS-105P
Note: There are specific types of screws for specific surfaces. If unsure of
the appropriate type of screw to use on your desired surface please consult
a professional.
1. Use a drill to make two holes in the desired surface
2. Place the white screw anchors into the holes, place the lamp
in line (D2) with the holes and secure with the provided
screws.
Installation Instructions
GS-105W
Note: Make sure lamp is mounted so full sun exposure is possible.
1. Use a drill to make two holes in the desired wall
2. Place the white screw anchors into holes, place the lamp's wall
bracket (D3) in line with the holes and secure with the provided
screws.
Replacing the Batteries
(After several years of use, the battery may need replacing).
Note: The lamp is designed to run with one battery but a second, optional
battery, can be installed for longer duration of light each night.
1. Unscrew the two screw caps and detach part (B) from part
(C). Make sure the switch is in the OFF (O) position.
2. Unscrew the battery compartment screw, (Fig. I) located on
the silver reflector and remove the compartment door.
3. Unclip the connector and remove the old battery. Make sure
the new battery is high quality 3.2V/1,500mAh Lithium-ion
Rechargeable battery with connector.
Gama Sonic part #GS3V15
4. Clip on new battery and install into the battery compartment.
Screw back battery compartment screw.
5. Reattach part (B) to part (C) and secure with the 2 screw caps.