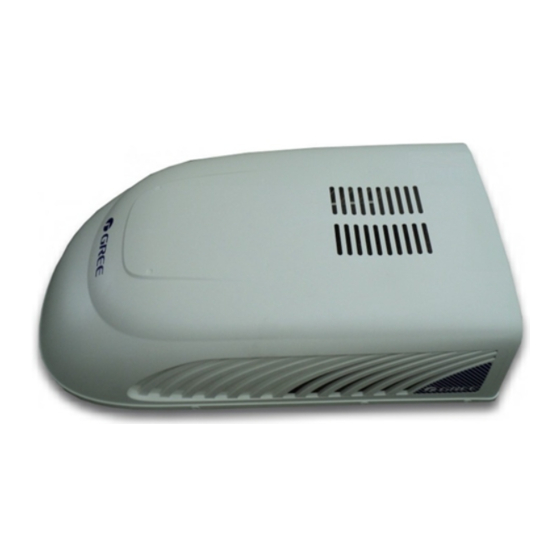
Gree RVA-135RHP Manual del usuario Funcionamiento e instalación - Página 13
Navegue en línea o descargue pdf Manual del usuario Funcionamiento e instalación para Aire acondicionado Gree RVA-135RHP. Gree RVA-135RHP 20 páginas. Recreational vehicle air conditioner

- 1. Air Conditioner
- 1. 1 A few Words about Your New Air Conditioning Unit
- 1. Electrical Data
- 2. Table of Contents
- 2. 2 Electric Diagram
- 3. 3 Packing List
- 4. 4 Specifications
- 5. 5 Operation of Wireless Remote Control
- 6. 6 Control Panel
- 7. 7 Installation Instruction
- 7. Step 1-Selecting an Installation Location & Installing the Roof Top Air Conditioner
- 7. Step 2-Installing the Ceiling Assembly
- 7. Step 3-Electrical Wiring
- 7. Step 4-Completing the Installation
- 8. 8 Troubleshooting Guide
- 9. 9 Normal Maintenance Procedures
CASE B.
If a roof vent opening is not used,a new opening(see figure 1)will be cut into the vehicl roof.
A matching opening will also have to be cut into the interior vehicle ceiling,be careful when
cutting the ceiling opening because if the ceiling opening is carpeted,snagging could occur. After
the opening in the roof and interior ceiling are the correct size,a framed support structure must
be placed between the exterior roof top and interior ceiling.The reinforced framed structure must
follow the follwing guidelines:
Figure 1
CAUTION
1.
Gasket is standard accessory which should be properly sticked before installation of the roof
top air conditioner (See Figure 2).
2.
The roof top air conditioner must be mounted on a level plane from front to rear and side to
side when the vehicle is parked on a level plane. Figure 3 shows maximum allowable degrees
that the unit can be mounted above or below level.
3.
If the roof of the vehicle is sloped (not level) such that the roof top air conditioner cannot be
mounted within the maximum allowable degree specifications, an exterior leveling shim will
need to be added to make the unit level. A typical leveling shim is shown in Figure 4.
4.
Once the roof top air conditioner has been leveled, some additional shimming may be required
above the interior ceiling assembly. The roof top air conditioner and the interior ceiling assembly
must be square with each other before they are secured together.
5.
After the mounting hole area is properly prepared, remove the carton and shipping pads from
around the roof top air conditioner. Carefully lift the unit on top of the vehicle. Do not use the outer
plastic shroud for lifting. Place the roof top air conditioner over the prepared mounting hole.
6.
The point end (nose) of the shroud must face toward the front of the vehicle.
Hole for
Wires
1.
It must be capable of supporting both the
weight of the roof top air conditioner and
the interior ceiling assembly.
2.
It must be capable of holding the roof outer
surface and interior ceiling apart and
supporting them, so that when the roof top
air conditioner and ceiling assembly are
bolted together,no collapsing occurs. A
typical support frame is shown in Figure 1.
3.
There must be an opening through the
frame for the power supply wiring.Route
the supply wiring through the frame at the
same time the support frame is being
installed.
- 11 -
