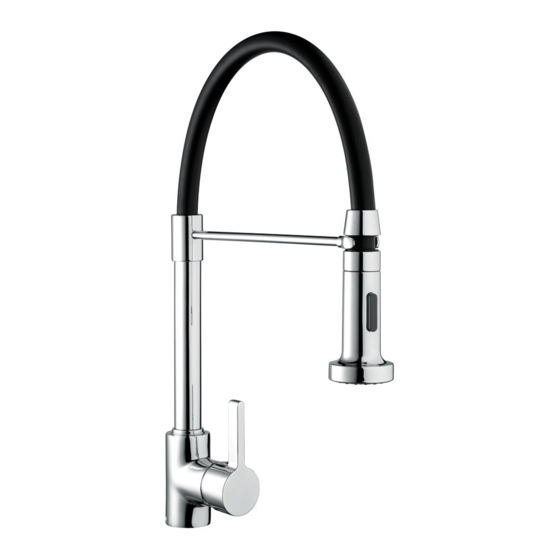
Bristan Liquorice Kitchen Sink Tap Instrucciones de instalación y manual del usuario - Página 6
Navegue en línea o descargue pdf Instrucciones de instalación y manual del usuario para Productos de fontanería Bristan Liquorice Kitchen Sink Tap. Bristan Liquorice Kitchen Sink Tap 14 páginas.

BRISTA
Installation Requirements Cont.
It is essential that all pipe
work
is flushed through to remove debris and swarf that could
otherwise damage the fitting
.
Once the pipe
work
has been flushed through, turn off the
water
supply at the stop
valve
.
Two non-return
valves
are
supplied with
this mixer, one of each should be fitted in the hot and
cold water supply to the mixer to prevent the possibility of backflow, however this mixer tap
must be installed in accordance with the above mentioned Regulations
.
Important: Independent stop valves complying with the current water regulations
should be fitted as a means of isolating both
water
supplies to the fitting for
servicing and/or maintenance
work
.
Installation.
1.
Identify all
components
and check for completeness, particularly before arranging
installation
.
[See diagram of components on page 07].
1
.
Hose
x1
12.
Cartridge
2.
Spout Arm
x1
13
.
Cartridge Retaining Nut
3.
Mixer Body [Neck)
x1
14.
Shroud
4.
Spout Connections*
x1
15.
Handle
5.
Mixer Body*
x1
16.
Grub Screw Cap
6.
Plinth
x1
17.
Grub Screw
7.
Washer
x1
18.
Anti-Splash Assembly
8.
Re-enforcing Plate
x1
19
.
Handset
9.
·c
Shaped Rubber Washer
x1
20
.
Handset Connections*
10.
·c
Shaped Fixing Plate
x1
21
.
Flexible Connecting Pipes
11
.
Fixing Stud
x1
22
.
Non-Return Valves
23
.
Nut & Olive
*
These components are not available as individual spares.
2.
Screw fixing stud [11) into the smallest threaded hole in base of mixer tap with screw
driver slot away from hole to allow tightening with a suitable flat bladed
screwdriver.
3. Fit plinth [6) to base of tap with base seal [7) facing towards the sink/work surface
.
x1
x1
x1
x1
x1
x1
x1
x1
x2
x2
x1
x2
4.
Carefully screw both inlet flexible connecting pipes [21
l
into two remaining holes in base
of mixer body [5) as tight as possible by hand only [DO NOT OVERTIGHTEN).
06
