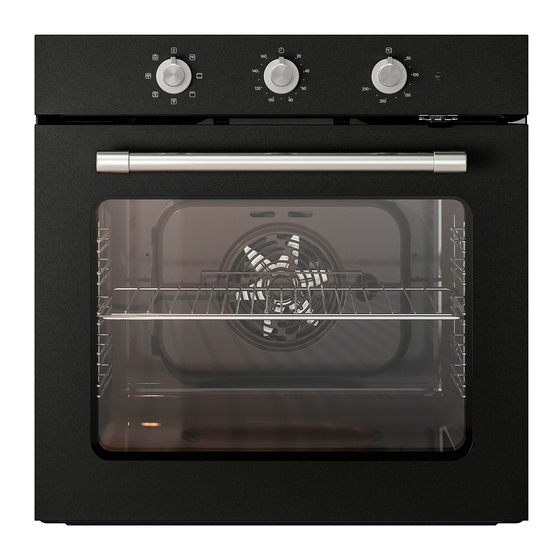
ENGLISH
Daily use
1. Select a function
To select a function, turn the
for the function you require.
2. Turn on/off the oven
To switch on the oven turn the
A
to switch off turn the
knob to position "0".
3. Preheating
Once the function has been activated, the LED thermostat
will switch on signalling that the preheating process has
begun.
At the end of this process, the LED thermostat switches off
indicating that the oven has reached the set temperature: At
this point, place the food inside and proceed with cooking.
Please note: Placing the food in the oven before preheating has
finished may have an adverse effect on the final cooking result.
Oven functions table
The oven has 5 cooking levels. Count up from the lower level.
Function
0
OVEN OFF
FORCED AIR
CONVENTIONAL
(Top and Bottom Heat)
GRILL
GRILLING
WITH FAN
CONVECTION BAKE
DEFROST
LIGHT
Cooking tables
Type of food
SWEETS, PASTRY, ETC
Leavened cakes
Filled pies (cheesecake, strudel,
fruit pie)
Biscuits/tartlets
Choux buns
selection knob
to the symbol
A
Knob to the desired function,
Description of function
For switching off the oven.
For cooking different foods that require the same cooking temperature on several
shelves (maximum three) at the same time. This function can be used to cook
different foods without odours being transferred from one food to another.
For cooking any kind of dish on one shelf only.
It is best to use the 2nd shelf.
For grilling steaks, kebabs and sausages, cooking vegetables au gratin or toasting
bread. When grilling meat, we recommend using a drip tray to collect the cooking
juices: position the pan on any of the levels below the wire shelf and add 200 ml of
drinking water.
For roasting large joints of meat (legs, roast beef, chicken). We recommend using a
drip tray to collect the cooking juices: position the pan on any of the levels below the
wire shelf and add 500 ml of drinking water.
For baking cakes with juicy fillings on a single shelf. This function can also be used
for cooking on two shelves. Switch the position of the dishes to cook food more
evenly.
For defrosting food more quickly.
Place the food in the center of the cavity, level 3
For switching on the light in the compartment.
Function
Preheating
4. Setting the timer
This option does not interrupt or activate cooking but allows
you to use the minute minder both while a function is active
and when the oven is off.
To activate the timer, turn the
clockwise direction and then turn it back in the opposite
direction to the desired duration: an acoustic signal will warn
you when the count-down is finished.
Level
(from the bottom)
X
2
X
4-1
X
2
X
4-2
X
2/3
X
4-2/5-3-1
X
2
X
4-2
timer knob
right round in an
Temperature (°C)
Cooking time
(min)
150–170
30-90
160-180
30-90
160-200
35-90
160-200
40-90
160-180
15-40
150-170
20-45
180-200
40-60
170-190
35-50
18

