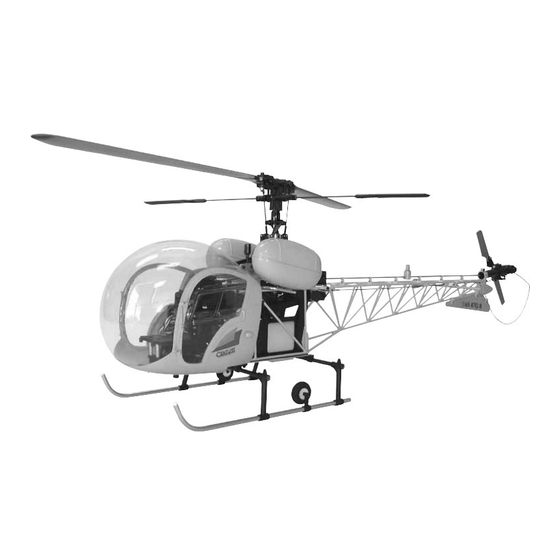
Century Helicopter Products Bell 47G II ARF Helicopter Manual - Página 14
Navegue en línea o descargue pdf Manual para Juguete Century Helicopter Products Bell 47G II ARF Helicopter. Century Helicopter Products Bell 47G II ARF Helicopter 15 páginas.

Bell47G II Scale Accessory Kit
2. Replace the right lower side frame to the main mechanics.
The rear of the bottom plate has the shorter fuel tank
bracket. Position the fuel tank with the opening to the rear.
Insert two M3x8 Button Head Screws into the vertical bracket
and attach the bottom plate, securing with two M3 Locknuts
from below. Make sure the tab captures the top of the fuel
tank to lock it in place.
3. Test fit the bottom plate to the mechanics, you will notice
that the rear backplate bolts on the OS 50 engine interfere
with the plate, remove and file a 35mm long by 1.5mm deep
slot through the bracket and the bottom plate together. After
removing enough to align the landing gear holes use a black
marker to touch up the plate. Now position the tank
assembly and insert two M3x8 Socket Cap Screws through
the original front landing gear holes (the front landing gear is
now mounted further forward) in the lower side frames,
through the bottom plate and secure with two M3 Locknuts.
4. Attach one round plastic standoff to each side of the upper truss pins, they are tight fit. Remove the
two M3x12 Self Tapping Screws that attach the upper servo frame to the mechanics. Starting on the left
side press the scale side frame (has only single brace to the cabin mount) onto the upper standoff on the
tail truss and secure using one M3x35 Socket Cap Screw inserted through the hole in the front most
horizontal brace, one 22mm spacer and threaded into the servo side frame. Repeat for the right side
(right side has two braces to the cabin mount).
5. The bottom rail of the scale side frames are attached at the
landing gear points using the yellow blocks. At the rear, insert
one M3x20 Self Tapping Screw through the bottom leg of the tail
truss, through the short yellow block, the side frame, the bottom
plate and into the landing gear mount. Repeat for the other side.
For the front, insert one M3x16 Button Head Screw through the
tall yellow block, through the front-most hole in the bottom plate
and into the front landing gear mount. Repeat for the other side.
After the bolts are secured, press the bottom of the scale side
frames in place (it is tedious to tighten the bolt when the side
frame is in the final position) to engage the tab on the yellow
blocks. Re-attach the cabin body-mounts through the scale side
frame holes and thread into the captive nuts in the lower side
frames using threadlock.
The scale accessory kit includes the key items to really make your Bell47G II
super scale. The bottom plate positions the fuel tank facing backwards slim-
ming the mechanics while the scale side frame extend up to the servo tray.
The front mount muffler is now elegantly hidden below the battery tray.
Instructions:
1. Start by removing the cabin, fuel tanks, landing gear, both cabin
body-mounts, the right lower side frame (to access the muffler bolts)
and the side exhaust muffler. Remove and re-position the vent line to the
top of the tank and make sure the pickup line moves freely in the bottom
of the fuel tank in its vertical orientation.
#CN1074B
1.5mm
deep
35mm
OS 50 modification.
