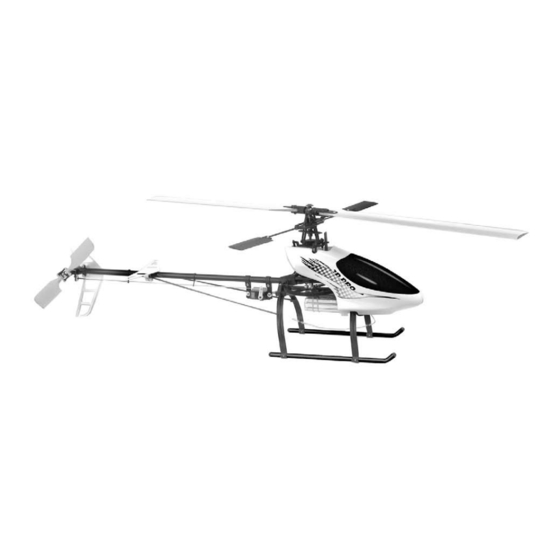
Century Helicopter Products Hummingbird Elite 3D Pro Manual de montaje e instrucciones - Página 9
Navegue en línea o descargue pdf Manual de montaje e instrucciones para Juguete Century Helicopter Products Hummingbird Elite 3D Pro. Century Helicopter Products Hummingbird Elite 3D Pro 12 páginas.
También para Century Helicopter Products Hummingbird Elite 3D Pro: Manual de instrucciones (10 páginas)

Section 12: Tail Gearbox Assembly
Bags Used:
CNE318, CNE325, CNE321, CNE317, CNE324, CNE322
Tail gearbox assembly (12-1, 12-2, 12-3, 12-4)
Open parts bag CNE318
Tail Output Shaft
Lever,
Tail Pitch Slider
and CNE325
Place small parts in a container.
47) The
Tail Output Shaft
has three indentations. One end has two
indentations opposite to one another. Locate the
align it one of the two indentations. Use the supplied
and locktite to secure the
onto the
Slider
Tail Output Shaft
pointing toward the
Tail Rotor
48) The
Tail Gearbox
consists of two halves: left and right. Use an hobby
knife to create parallel shallow grooves (for glue) on the inside
Clamping Portion
as pictured (12-1) for both sides of the
The right half of the
Tail Gearbox
Slide the
Tail Output Shaft
half of the
Tail Gearbox
from the outside.
49) With the
attached slide the
Tail Gearbox
Tail Output
Shaft.
50) Align the
Tail Output Gear
facing the right side of the
Screw
and locktite to secure the
When removing this assembly in the future use heat from a soldering iron
place it on top of the
M2x2 Set Screw
51) Use an hobby knife to create shallow parallel grooves in the
Portion
of the
Tail
Boom. Attach the
Use a thin layer of medium strength CA glue on the
sides of the
Tail
Gearbox. Also use CA glue on
of both the
Tail Boom
and
Bearing
into the
Bearing Housing
and join the two halves together (Use an gear oil for the two gears
inside the Tail Gearbox before joining glued halves).
12-3
Tail Boom
#CNE316
Clamping Portion
Assembly, CNE321
Tail
Gearbox.
Tail Rotor Hub
M2x2 Set Screw
Tail Rotor Hub
in place. Insert the
with the plastic
Tail Pitch Slider Arms
Hub.
has a plastic
Tail Pitch Lever
through the
Bearing
installed in the right
Tail Output Spacer
onto the
Tail Output Shaft
with the teeth
Tail
Gearbox. Use the supplied
Tail Output Gear
in place.
to heat away the locktite.
Tail Gearbox
to the
Outer Rim
Clamping Portions
Tail
Gearbox. Place the
Tail Drive Shaft
in the right side of the
Tail Drive
Shaft Bearing
#CNE213
Tail Drive
Tail Output
Shaft Gear
Gear
#CNE305
#CNE318
Tail Pitch
12-1
and
Tail Pitch
Tail
Gearbox.
Mount.
onto the
12-2
Tail Gearbox (right
M2x2 Set
side) #CNE325
Output Shaft
#CNE318
Clamping
Tail
Boom.
of both
Tail Output
Tail Gearbox
Gear
#CNE318
12-4
Tail Gearbox
#CNE325
Bearing
Housing
Tail Pitch
Lever
Mount
M2x2 Set
Screw
#CNE318
Tail Output
Tail Pitch
Spacer
Slider Pin
#CNE318
Tail Drive
Tail Gearbox
Shaft Gear
(left side)
#CNE325
#CNE305
Tail Output
Tail Gearbox (right
Gear
side) #CNE325
#CNE318
Outer Rim
Clamping Portion
Tail Pitch
Slider
Tail Pitch
#CNE321
Slider Arms
M2x2 Set
Screw
#CNE318
Tail Rotor
Hub
#CNE318
Tail Boom
#CNE316
Tail Drive
Shaft Bearing
#CNE213
9
