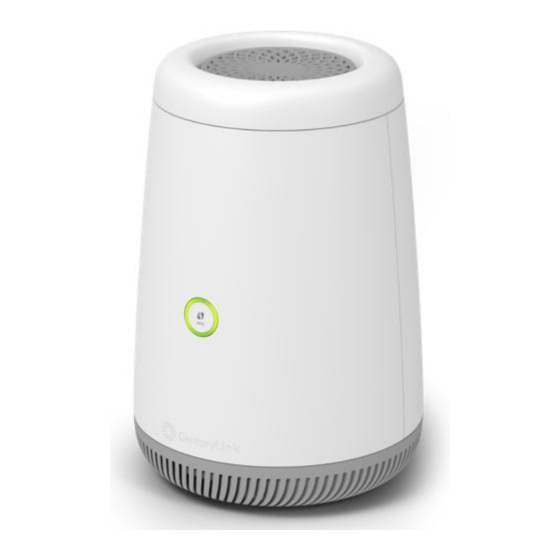
CenturyLink C4000BG Manual del usuario - Página 7
Navegue en línea o descargue pdf Manual del usuario para Router inalámbrico CenturyLink C4000BG. CenturyLink C4000BG 14 páginas.

- 1. Table of Contents
- 1. 1 Introduction
- 2. 2 Overview
- 3. 3 Setup
- 4. 4 Internet Connection Setup (Centurylink Home Router Side)
- 4. Automatic Connection
- 4. Manual Connection
- 5. 5 Setting up a Wireless Network
- 5. Using WPS (Wireless Protected Setup)
- 5. Setting up a Wireless Network Manually
- 6. 6 Getting to Know the C4000BG
- 7. 7 Technical Specifications
- 7. General Specifications
- 7. Dimensions and Weight
- 7. Environmental Parameters
- 8. 8 Fcc
4 Internet Connection Setup (CenturyLink Home Router side)
Your C4000BG can automatically detect and configure your Internet (section 4.1), or done manually (section 4.2).
Automatic Connection
4.1
1. Open your web browser to a website. Wait while your device tries to detect your DSL connection to your ISP. This may take a few
minutes.
2. After it detects the connection, the LED Ring will show green on your C4000BG when the Internet is ready for you to use. If you
have a PPPoE connection, you will have to enter the user name and password provided by your ISP.
3. Go to Set Up a Wireless Network if you wish to configure your wireless settings.
4. If the automatic connection is not successful, check your connections and restart the Device. Also, make sure you have entered the
user name and password correctly. If you still cannot access the Internet, follow the steps in the next section to manually configure
the Internet connection.
Manual Connection
4.2
You can also manually log into the router's Web UI to configure your Internet connection
1. In your browser, if the Device does not automatically re-direct you to the login screen, go to
2. Enter the default user name admin and password (see the label on the bottom of the device). Click Apply.
If the login screen does not open, make sure you allow web browser pop-up windows, JavaScripts and
Java permissions. Your computer should be also set to get an IP address automatically from a DHCP server.
7
http://192.168.0.1
