Britax Steelcraft Beepa Manual - Página 4
Navegue en línea o descargue pdf Manual para Accesorios para bebés Britax Steelcraft Beepa. Britax Steelcraft Beepa 4 páginas. 4 in 1 walker
1.
ASSEMBLY CONT...
E
Open seat by pulling release button on upper
plate.
F
Slide open until engaged.
G
Raise seat backrest and click into rear of seat
moulding.
H
To slide seat away release back-rest of seat by
pushing upwards and forwards from moulding.
Fold seat cloth forward until flat. Pull seat
release button on upper tray, and slide seat
forward until hidden beneath car bonnet.
2.
TO INSTALL SWIVEL WHEELS
A
Turn lower base upside down and insert the end
of the swivel wheel posts all the way into the
holes located in each of the four corners.
3.
TO INSTALL BATTERIES
NOTE: There are two individual battery housings.
You will need 5 x AA batteries for lights and
sounds. (Batteries not included)
FOOT PEDAL BATTERIES
A
Turn over lower base to locate battery housing in foot pedal. Remove the
Phillips head screw in battery lid with a screwdriver. Install the 3 x AA batteries
taking care to install in correct positive and negative directions. Cover with
housing lid and tighten the screw. Test correct installation by turning over foot
pedal and pressing light and sound buttons.
04
www.britax.com.au
3.
CAR BONNET BATTERIES
B
E
F
G
H
4. TO INSTALL BATTERIES
WARNING:
is required when charging rechargeable batteries. Used and new or different types
of batteries should not be mixed. Remove the batteries as soon as they become
exhausted. Supply terminals for batteries are not to be short circuited.
5.
A
A
B
C
A
A
D
E
NOTE: The car bonnet can remain uninstalled to use
convenient snack tray.
TO INSTALL BATTERIES CONT...
Locate battery housing underneath car bonnet.
Remove the Phillips head screw in battery lid
with a screwdriver. Install the 2 x AA batteries
taking care to install in correct positive and
negative directions. Cover with housing lid and
tighten the screw. Test correct installation by
turning over and pressing light and sound
buttons on steering wheel.
Non-rechargeable batteries are not to be recharged. Adult supervision
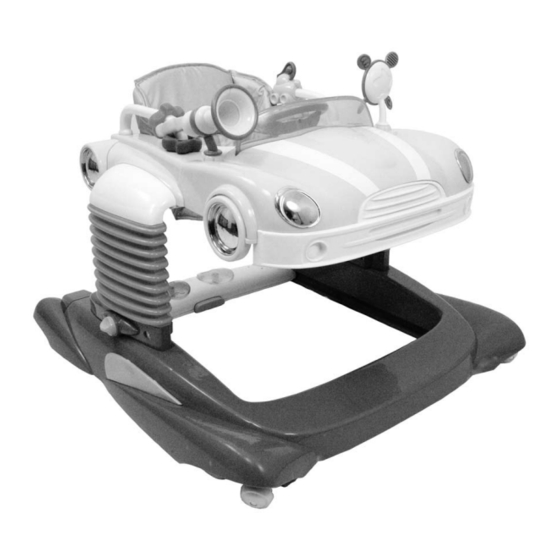
TO INSTALL CAR WINDSCREEN, CAR BONNET, TOYS AND HANDRAILS
Insert car windscreen into slot provided in car
bonnet.
Insert the toy fan and horn in corresponding holes
found on the left and right side of car bonnet.
Place car bonnet over front end of upper plate,
push down to lock into place.
To remove car bonnet gently pull front wheels
away from either side of upper plate molding.
Release and lift away.
Insert the handrails into corresponding holes
found on left and right sides of upper plate.
www.britax.com.au
B
B
A
B
C
D
D
E
E
05