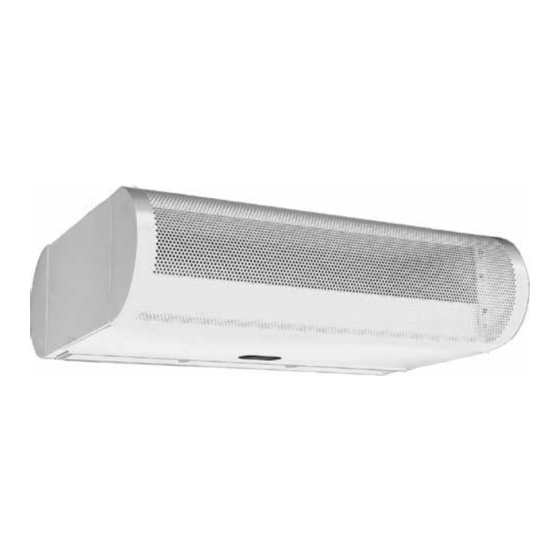
Berner Architectural Elite 8 Manual de instrucciones de instalación y mantenimiento - Página 14
Navegue en línea o descargue pdf Manual de instrucciones de instalación y mantenimiento para Calentador Berner Architectural Elite 8. Berner Architectural Elite 8 16 páginas.

SYMPTOMS
NO AIR
MINIMUM AIR
AIR IS NOT HITTING
FLOOR
UNEVEN AIR
EXCESSIVE AIR
MOVEMENT AT
DOORWAY
NO HEAT
MINIMAL HEAT
EXCESSIVE HEAT
X. TROUBLESHOOTING
CAUSE
• Power supply line open (no power)
• Fuse blown/circuit breaker tripped
• Motor overload tripped
• Failed switch
MOTOR RUNNING/FANS ARE NOT ROTATING
• Broken or flexible hub
• Shaft rotating inside fan
• Belt driven units/belt broken
ELECTRICAL CONTROLS NOT FUNCTIONING WHEN DOOR IS OPEN
• Selector switch is in off position
• Door limit switch not operating
• Air directional discharge vanes misadjusted
• Inadequate intake clearance
• Blower motor operates below speed
• Fan rubbing against housing
• Fan wheels clogged with dirt
• Air stream to weak
• Air stream hits obstruction
• Negative pressure
• Shaft rotating inside fan
• One motor not operating
• Nozzle not angled out far enough
• Unit too powerful
• Air movement too cold
• Pushing air outside building
SEE AIR IS NOT HITTING FLOOR SYMPTOMS
ELECTRICALLY HEATED MODELS
• Switch turned to "ON" position
• Thermostat not set properly
• Coils burned out due to lack of air
• Automatic reset thermal cutout failed in open position
• Manual reset thermal cutout tripped
• Low entering air temperature
• Thermostat in wrong location - thermostat too
close to discharge
• Improper voltage
• Thermostat not set properly
• Thermostat in wrong location
• Thermostat not set properly
• Insufficient air over coil
• Check power source, check method of control
position in ON
• Replace fuse(s)/reset breaker
• Internally protected motor - should reset automatically
after cool-down, if not replace motor.
• Replace switch
• Replace fan sleeve/reengage coupling
• Tighten set screws/tighten fan on shaft
• Replace belts
• Turn switch to "ON" position
• Repair or replace limit switch
• Adjust vanes to proper position, see instructions
• Move air curtain or remove obstruction
• Provide adequate space for air curtain
• Improve voltage
• Free fan from housing
• Clean and vacuum fan wheels
• Adjust nozzle to proper position, adjust motor speed;
see installation instructions
• Remove obstruction or reposition air curtain (move out
3
/
" for every 1" up from the door)
8
• Relieve negative pressure by providing make-up air
• Tighten set screws
• Repair or replace motor
• Adjust nozzle angle to outside
• Adjust motor speed
• Add auxiliary heat to overcome wind chill factor
• Adjust discharge angle back into building, adjust motor
speed
• Replace switch or check wiring
• Change thermostat setting
• Correct airflow problem; replace coils
• Replace automatic thermal cutout
• Reset manual thermal cutout
• Based on unit temperature rise, reduce speed
• Move thermostat away from air stream
• Supply proper voltage
• Change temperature setting
• Move thermostat closer to air stream
• change temperature setting
• Remove restriction on intake
- 14 -
REMEDY
