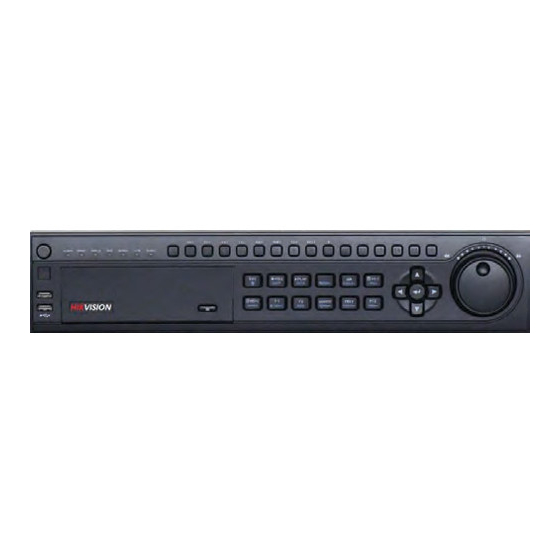
HIKVISION DS-8100-S Series Manual de inicio rápido
Navegue en línea o descargue pdf Manual de inicio rápido para DVR HIKVISION DS-8100-S Series. HIKVISION DS-8100-S Series 6 páginas.
También para HIKVISION DS-8100-S Series: Manual de instalación (4 páginas), Manual de inicio rápido (6 páginas), Manual de instalación (4 páginas), Manual de inicio rápido (7 páginas)

Quick Start Guide
DS-8100-S Series DVR
Menu Structure
The menu structure of the DS-8100-S Series DVR is as
followed:
Startup and Shutdown
Proper startup and shutdown procedures are crucial to
expanding the life of your DVR.
To startup your DVR:
1. Plug power adapter into DVR and electrical outlet. It is
HIGHLY recommended to use a surge protector. The
Power indicator LED on the front panel will turn red.
2. Connect a VGA monitor and mouse into the DVR.
3. Switch the POWER button on the back rear panel. The
Power indicator LED will turn blue. The unit will begin
to start.
There are two proper ways to shutdown the DVR. To
shutdown the DVR:
•
OPTION 1: Standard Shutdown
1. Enter the Shutdown menu by going to Menu >
Maintenance > Shutdown.
2. Select the Shutdown button.
3. Click the Yes button.
4. Turn off switch on rear panel
•
OPTION 2: Manual Shutdown
1. Press and hold the POWER button for 3 seconds.
2. Enter the administrator's username and password in the
dialog box for authentication.
3. Click the Yes button.
4. Turn off switch on rear panel
Note:
Do not press the POWER button again when the
system is shutting down.
Formatting a Disk
A newly installed hard disk drive (HDD) must be formatted
first before it can be used with your DVR.
Note:
Formatting the disk will erase all data on it.
To format a new disk:
1. Enter the Disk Management menu by going to Main
Menu > System Configuration> Disk Management.
2. Select a disk to format. A disk that has not been
formatted will show Error Detected as its status. If the
disk is one that is newly installed, the status of the drive
will show up as Non-Active and the Reformat button
will change to the Add button.
3. Click the Add button.
4. A confirmation message will appear on the screen. Click
the Yes button to continue formatting process.
5. A format progress bar will be shown on the menu. After
the disk has been formatted, the status of the disk will
change to Active.
1
