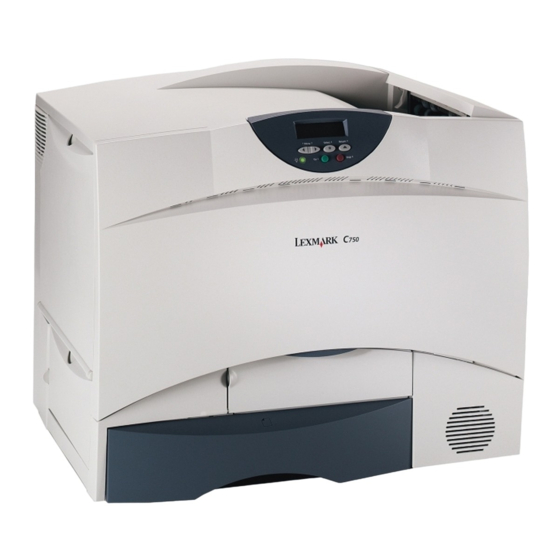
Lexmark C 750 Manual de sustitución - Página 11

Navegue en línea o descargue pdf Manual de sustitución para Impresora Lexmark C 750. Lexmark C 750 14 páginas. Understanding jam messages
También para Lexmark C 750: Referencia rápida (2 páginas), Solución de problemas (1 páginas), Navegación por el contenido (10 páginas), Manual de desatascos (2 páginas), Notas de publicación (18 páginas), Instrucciones (4 páginas), Manual (12 páginas)

Lexmark C 750 Manual de sustitución
13
Return the multipurpose feeder to
its working position.
14
Reinstall all the print cartridges.
a
Align the cartridge with its
color-coded opening.
b
Slide it into the printer. The
cartridge drops slightly and
clicks into place.
15
Close the printer door.
If the door doesn't close
completely, reopen the door and
press in firmly on the cartridges to
make sure they are fully seated.
16
Plug the printer in and perform
one of the following:
— If you only installed a transfer
roller, turn the printer back on.
The printer returns to a Ready
state. You are now finished.
— If you installed a new image
transfer unit, continue with step
17.
17
Set the alignment for the new
image transfer unit.
a
On the printer operator panel,
press and hold
while turning the printer
Return
on.
b
When Performing Self
Test appears, release the
buttons.
and
Select
9