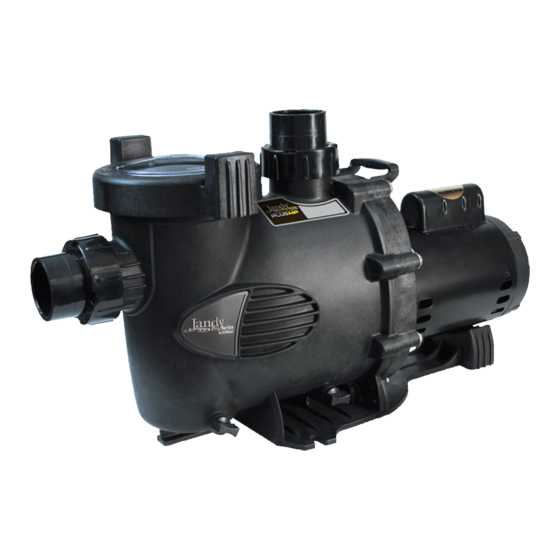
Jandy Pro Series PHPF Series Instrucciones - Página 2
Navegue en línea o descargue pdf Instrucciones para Bomba de agua Jandy Pro Series PHPF Series. Jandy Pro Series PHPF Series 4 páginas. Lid w/ locking ring and seal, lid seal and lid o-ring, and basket, replacement kit

Page 2
2. Procedures
2.1 Opening Pump
WARNING
Turn off the pump and main breaker in the pump
electrical circuit before starting the procedure. Failure
to comply could cause a shock hazard, which could
result in property damage, severe personal injury,
and/or death.
WARNING
Due to the potential risk of fire, electric shock, or
injuries to persons, Jandy Pumps must be installed
in accordance with the National Electrical Code
(NEC
), all local electrical and safety codes, and the
®
Occupational Safety and Health Act (OSHA). Copies
of the NEC may be ordered from the National Fire
Protection Association, 470 Atlantic Ave., Boston,
MA 02210, or obtained from your local government
inspection agency.
In Canada, Jandy Pumps must be installed in
accordance with the Canadian Electrical Code
(CEC).
1.
Turn off the pump. Switch off the circuit breaker
to the pump motor.
2.
Close all necessary isolation valves to prevent
pool water from reaching the pump.
3.
Following the markings on the lid's locking ring,
turn the ring counter-clockwise until the 'START'
marking aligns with the ports. Carefully remove
the lid.
4.
Depending on the model of the pump, remove
either the lid o-ring or the lid seal. Section 2.2
explains how to determine whether your model
uses a lid o-ring or a lid seal.
5.
Clean all lid sealing surfaces. Remove debris in
the lid o-ring groove or lid groove and on the
sealing surface on the pump housing. Debris on lid
sealing surfaces can cause air leaks in the system.
WARNING
Follow all filter manufacturer's instructions. Never
attempt to assemble, disassemble or adjust the
filter when there is pressurized air in the system.
Starting the pump while there is any pressurized
air in the system can cause the filter lid to be
blown off, which can cause death, serious
personal injury or property damage.
6.
Go to the appropriate section:
2.2 Replacing Lid Seal or Lid O-ring
(Kit R0449100)
2.3 Replacing Pump Debris Trap Basket
(Kit R0448900)
Jandy
Pro Series PHP(F/M), WFTR, and MHPM Pumps, Lid w/ Locking Ring and Seal, Lid Seal and O-ring, and
®
|
Basket
Replacement Kit Instructions
2.4 Replacing Lid with Locking Ring and Seal
2.2 Replacing Lid Seal or Lid O-ring
(Kit R0449100)
The lid seal is used with newer model pump lids,
and the lid o-ring is used with older model pump lids.
NOTE The lid seal has a three-lobed cross section and
1.
Determine whether your pump lid is a newer or
older model by locating the lid part number.
®
a. If the part number is on the bottom of the lid
Figure 2. Older Model Lid
b. If the part number is on top of the lid (see
Figure 3. Newer Model Lid
(Kit R0448800)
the lid o-ring has a round cross section.
(see Figure 2), the pump is an older model and
uses a lid o-ring. Go to Step 2.
Bottom View of Lid
(Older Model)
If the lid part number is on a raised ridge
on the bottom of the lid, use a lid o-ring.
Figure 3), the pump is a newer model and uses
a lid seal. Go to Step 3.
Top View of Lid
(Newer Model)
If the lid part number is on the top of the lid,
use a lid seal.
