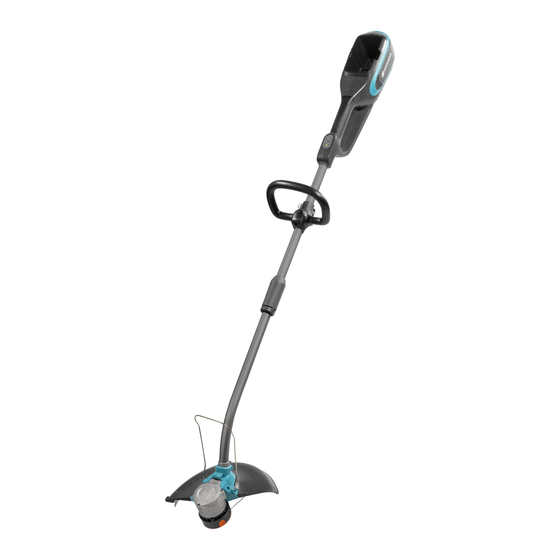
Gardena 9827 Manual del usuario - Página 7
Navegue en línea o descargue pdf Manual del usuario para Recortadora Gardena 9827. Gardena 9827 12 páginas. Battery trimmer

(17)
If the cassette cover
cannot be attached, turn the filament cassette
back and forth, until the filament cassette
(20)
cassette holder
.
5. STORAGE
To put into storage:
The product must be stored away from children.
1. Remove the battery.
2. Charge the battery.
3. Clean the trimmer, the battery and the battery charger
(see 4. MAINTENANCE).
4. Store the trimmer, the battery and the battery charger in a dry,
enclosed and frost-free place.
Disposal:
(in accordance with RL2012/19/EC)
The product must not be disposed of to normal household waste.
It must be disposed of in line with local environmental regulations.
IMPORTANT!
v Dispose of the product through or via your municipal recycling
collection centre.
Disposal of the battery:
The GARDENA battery contains lithium-ion cells that should not
be disposed of with normal household waste at the end of its life.
IMPORTANT!
v Dispose of the batteries through or via your municipal recycling
collection centre.
1. Discharge the lithium-ion cells completely (contact the GARDENA
Service).
2. Protect the contacts on the lithium-ion cells against short circuits.
3. Dispose of the lithium-ion cells properly.
6. TROUBLESHOOTING
DANGER! Risk of injury!
Cut injury when the trimmer starts accidentally.
v Wait for the cutting filament to stop and remove the battery
before you troubleshoot the trimmer.
Problem
Possible Cause
Trimmer does not start
Battery is not put completely
into the battery holder.
On LED is off.
Trimmer does not cut
Cutting filament is worn or too
short.
Filament cassette is empty.
Cutting filament is pulled into
the cassette or welded.
Trimmer can no longer be
Start lever is stuck.
stopped
Cutting filament cannot be
Cutting filament became too
extended or is used quickly
dry and brittle (e. g. during the
winter).
Cutting filament frequently
touched hard objects.
Product stops
There's long garden cuttings
[ Fig. T1 ]
wrapped around the filament
cassette holder
(19)
is completly in the filament
Li-ion
Remedy
v Put the battery completely
into the battery holder until
it audibly engages.
v Push the On/Off button.
v Extend the cutting filament
(see 3. OPERATION
"To extend the cutting fila-
ment (Tip mechanism)" ).
v Replace the filament cassette
(see 4. MAINTENANCE
"To replace the filament
cassette") .
v Pull the cutting filament
out of the filament cassette
(see above).
v Remove the battery and
loosen the start lever.
v Put the filament cassette in
water for approx. 10 hours.
v Prevent the cutting filament
from touching hard objects.
v Remove the cuttings.
(20)
.
Problem
(19)
ç
Error-LED
on the control
panel flashes [ Fig. T2 ]
¥
Error-LED
on the battery
flashes [ Fig. T3 ]
¥
Error-LED
on the battery
illuminates [ Fig. T3 ]
Charging control lamp
(Lc)
on the charger does not
illuminate [ Fig. T4 ]
(Lc)
Charging control lamp
on
the charger flashes rapidly
(4 times per second) [ Fig. T4 ]
(Wc)
Error-LED
on the charger
flashes [ Fig. T4 ]
(Wc)
Error-LED
on the charger
illuminates [ Fig. T4 ]
NOTE: For any other malfunctions please contact the GARDENA service depart-
ment. Repairs must only be done by GARDENA service departments or specialist
dealers approved by GARDENA.
7. TECHNICAL DATA
Battery Trimmer
Unit
Cutting filament thickness
mm
Cutting width
cm
Rpm of filament cassette
rpm
(normal / Eco)
Cutting filament supply
m
Cutting filament feed
Weight (without Battery)
kg
Sound pressure level L
1)
dB (A)
pA
Uncertainty k
pA
Sound power level L
:
2)
WA
measured/guaranteed
dB (A)
Uncertainty k
WA
Hand/arm vibration a
1)
m/s
vhw
Uncertainty k
a
Measuring process complying with:
NOTE: The stated vibration emission value has been measured according to
a standardized test procedure and can be used for comparison of one electric
power tool with another. It can also be used for preliminary evaluation of expo-
sure. The vibration emission value can vary during actual use of the electric power tool.
System Battery /
Unit
smart Battery BLi 40
Max. Battery voltage
V (DC)
Battery capacity
Ah
Battery charging time
min.
80 % / 100 % (approx.)
Battery Charger QC40
Unit
Mains voltage
V (AC)
Mains frequency
Hz
Rated Power
W
Output voltage
V (DC)
Max. output current
A
Possible Cause
Remedy
Over current, engine is
v Remove the battery and
blocked.
remove the obstacle.
Over temperature.
v Let the product cool down.
Start lever is pushed while the
v Release the start lever. Push
On / Off button is pressed.
the On / Off button (Error-LED
is off). Push the On / Off but-
ton again (On LED illumi-
nates)
Under voltage.
v Charge the battery.
Battery temperature is out of
v Use the battery in surround-
range.
ings where temperatures are
between 0 °C and 40 °C.
Battery error / battery defective. v Contact the GARDENA
Service.
Battery charger or charging
v Connect the battery charger
cable are not connected
and charging cable correctly.
correctly.
Battery temperature is out of
v Use the battery in surround-
range.
ings where temperatures are
between 0 °C and 40 °C.
Battery error.
v Remove the battery and
check that you use an original
GARDENA battery.
Temperature inside the
v Contact the GARDENA
charger is too high.
service.
Value (Art. 9827)
1.6
30
8500 / 7500
6
Tip mechanism
3.2
83
3
93 / 94
1
< 2.5
2
1.5
EN 50636-2-91
RL 2000/14/EC
1)
2)
Value (Art. 9842 / 19090) Value (Art. 9843 / 19091)
40
40
(The max. initial no-load
(The max. initial no-load
voltage of the battery
voltage of the battery is
is 40 V, the nominal
40 V, the nominal voltage
voltage is 36 V)
is 36 V)
2.6
4.2
65 / 90
105 / 140
Value (Art. 9845)
230
50
100
42
1.8
11
