Gardena Accu 80 Manual de instrucciones - Página 5
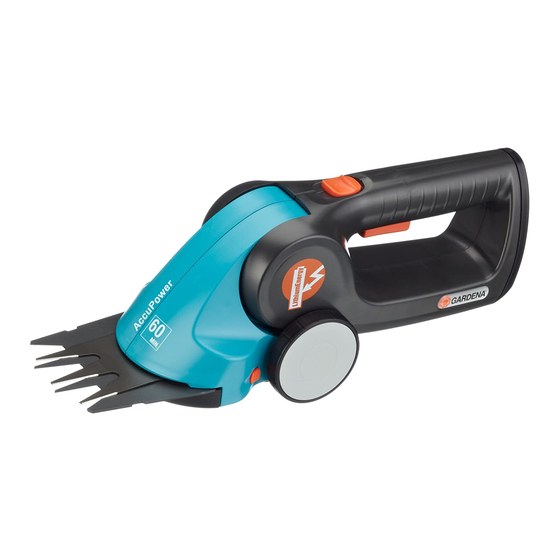
Navegue en línea o descargue pdf Manual de instrucciones para Césped y jardinería Gardena Accu 80. Gardena Accu 80 12 páginas. Accu edging shears / accu shrub shears
También para Gardena Accu 80: Manual de instrucciones (13 páginas)
4
5. Operating Your Accu Shears
WARNING !
Risk of Injury !
Cutting Grass / Bushes
and Shrubs :
Cutting with the Telescopic
Swivel Handle :
8
9
0
14
3. First remove the charging cable
and then unplug the battery charger from the mains socket.
When there is a sharp fall in the power of the Accu Shears, the
3
battery needs to be charged. Do not wait until the blade comes
to an absolute stop.
If the charging socket flashes red during charging, a fault has
occurred (see 8. Troubleshooting).
There is a risk of injury if the switching devices installed
on the Shears are removed or bridged (e.g. by fastening the
on switch to the handle). This prevents the Accu Shears
switching off automatically.
V Never remove or bridge the switching devices.
The starting lockout prevents your GARDENA Accu Shears from
being switched on unintentionally.
1. Edging Accu Shears : Clear the area to be cut of stones and
other solid objects and remove the blade guard
cutting blade.
Accu Shrub Shears : Remove the blade guard
cutting blade.
2. Ergonomic design :
Press the cutting head
7
and adjust the handle
to the desired angle.
3. Cutting :
Disengage the starting
8
lockout
it forwards and press the
ON button
the starting lockout
The GARDENA Telescopic Swivel Handle Art. No. 8817 for the
Accu Shears can be mounted in 45° steps (see 3. Assembly). The
swivel handle is fully height adjustable (85 – 120 cm) and can be
adapted to suit your height.
1. Attach the Telescopic Swivel Handle (see 3. Assembly).
2. Loosen the adjusting bolt
3. Set the handle to the correct length and tighten the adjusting
0
bolt
.
4. Disengage the starting lockout
press the ON button
5. Release the starting lockout
3
9
8
by pushing
9
. Release
8
again.
0
.
8
9
.
8
again.
from the charging socket
6
from the
6
from the
9
8
7
6
by pushing it forwards and
4