Lexmark MS810 Series Manual - Página 2

Navegue en línea o descargue pdf Manual para Impresora Lexmark MS810 Series. Lexmark MS810 Series 20 páginas. Field awareness
También para Lexmark MS810 Series: Nota técnica (3 páginas), Manual de conexión (6 páginas), Manual de impresión (16 páginas), Manual en papel (4 páginas), Mapa del menú (3 páginas), Manual de mudanzas (3 páginas), Manual de suministros (3 páginas), Hoja de configuración (2 páginas), Especificaciones del producto (2 páginas), Manual rápido (20 páginas)
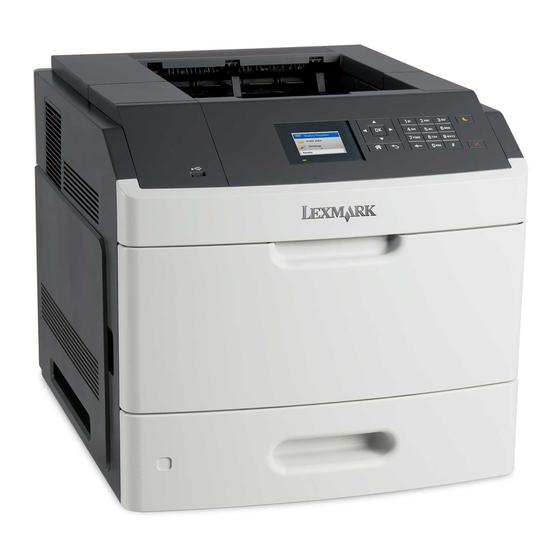
Lexmark MS810 Series Manual
Action
Step 2
From the printer control panel, set the paper size and type in the Paper menu
to match the paper loaded in the tray.
Do the paper size and type match the paper loaded in the tray?
Step 3
a
Depending on your operating system, specify the paper size from Printing
Preferences or from the Print dialog.
b
Resend the print job.
Is the page or image clipped?
Step 4
a
Reinstall the imaging unit.
1
Remove the toner cartridge.
2
Remove the imaging unit.
Warning—Potential Damage: Do not expose the imaging unit to direct
light for more than 10 minutes. Extended exposure to light may cause
print quality problems.
3
Install the imaging unit, and then the cartridge.
b
Resend the print job.
Is the page or image clipped?

Compressed images appear on prints

Action
a
Make sure the size of the paper loaded in the tray matches the fuser type.
Note: To identify the fuser type, view the label on the fuser.
b
Resend the print job.
Do compressed images still appear?
Print quality Guide
Page 2 of 19
Yes
No
Go to step 3.
Do one or more of the
following:
Go to step 4.
The problem is solved.
Contact
customer
The problem is solved.
support.
Yes
No
Contact
customer
The problem is solved.
support
at
http://support.lexmark.
com
or your service
representative.
Specify the paper size
from the tray settings
to match the paper
loaded in the tray.
Change the paper
loaded in the tray to
match the paper size
specified in the tray
settings.