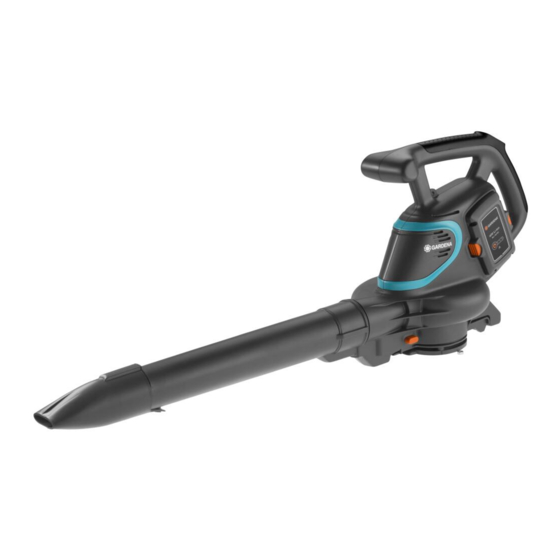
Gardena PowerJet Li-40 Manual del usuario - Página 7
Navegue en línea o descargue pdf Manual del usuario para Soplador Gardena PowerJet Li-40. Gardena PowerJet Li-40 18 páginas. Battery blower / vacuum
También para Gardena PowerJet Li-40: Manual del usuario (18 páginas), Manual del usuario (18 páginas)

ß
B
ß
M
ß
Lc
ß
Wc
ß
C
Battery charging indicator:
ß
ß
ß
b
L1
L2
Control panel:
m
∂
‚
v
Before you use the battery the first time, the battery must be com-
ß
D
pletely charged.
ß
The lithium-ion battery can be charged in any state of charge and
A
the charging process can be disconnected at any time without to
damage the battery (no memory effect).
1. Push both locking buttons
battery holder
2. Connect the mains cable
3. Connect the mains cable
ß
B
4. Connect the battery charger cable
When the charging control lamp
green once per second the battery is being charged.
When the charging control lamp
green the battery is completely charged
(charging time, see 7. TECHNICAL DATA).
ß
E
5. Examine the charge status regularly while you charge.
6. When the battery
ß
battery
B
7. Disconnect the charger
Battery charging indicator during charging:
66 – 99 % charged
33 – 65 % charged
Battery charging indicator during operation:
v Push the button
ß
L3
On/Off button:
v Push the On/Off button
When the blower / vacuum is switched on, the On-LED
The blower / vacuum automatically switches off after 1 minute.
Power wheel:
v Scroll the power wheel
position.
When the Eco mode is activated (power wheel scrolled downwards),
ß
the LED
illuminates.
Le
The Eco mode reduces the engine speed for a maximum battery
lifetime.
When the Normal mode is activated (power wheel scrolled
upwards), the LED
In Boost mode, the power wheel
(the power wheel automatically returns to the Normal mode when
released).
The Boost mode increases the engine speed for a maximum power.
ß
and remove the battery
A
ß
.
D
ß
to the charger
M
ß
to a 230 V mains socket.
M
ß
is completely charged, disconnect the
B
ß
from the charger
.
C
ß
from the mains.
C
100 % charged
0 – 32 % charged
ß
on the battery.
b
66 – 99 % charged
33 – 65 % charged
10 – 32 % charged
0 – 10 % charged
ß
on the control panel.
s
ß
on the control panel to the required
e
ß
is off.
Le
v
ß
from the
B
ß
.
C
ß
ß
to the battery
.
E
B
ß
at the charger flashes
Lc
ß
at the charger illuminates
Lc
ß
ß
ß
,
and
illuminate
L1
L2
L3
ß
ß
ß
and
illuminate,
L1
L2
L3
ß
ß
illuminates,
flashes
L1
L2
ß
flashes
L1
ß
ß
ß
,
and
illuminate
L1
L2
L3
ß
ß
and
illuminate
L1
L2
ß
illuminates
L1
ß
flashes
L1
ß
illuminates.
Ls
must be held upwards
flashes
19
