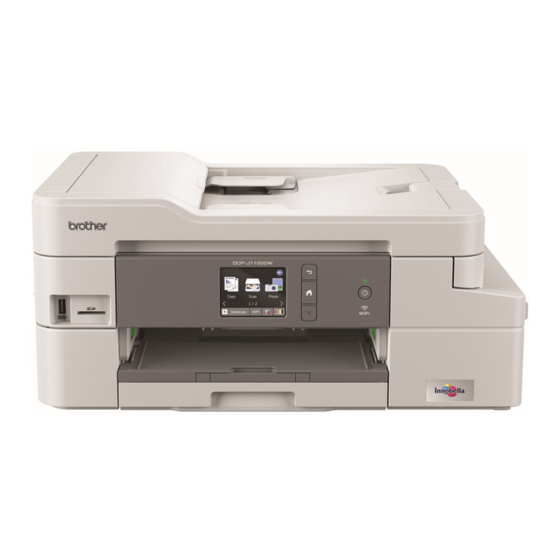
Brother MFC-J995DW Manual de referencia - Página 24
Navegue en línea o descargue pdf Manual de referencia para Impresora todo en uno Brother MFC-J995DW. Brother MFC-J995DW 31 páginas.
También para Brother MFC-J995DW: Manual de configuración rápida (2 páginas), Manual de referencia (29 páginas)

Error Message
Jam A Inside/
Front
Repeat Jam A
Inside/Front
Jam B Front
Repeat Jam B
Front
Jam C Rear
Low Temperature
Media is Full.
No Caller ID
No Ink Cartridge
Action
Remove the jammed paper.
For more detailed information, see the Online User's Guide: Printer
Jam or Paper Jam.
Make sure the paper guides are set to the correct paper size.
Do not put more than one sheet of paper in the manual feed slot at any
one time. Wait until the touchscreen prompts you to load another sheet
of paper before you feed the next sheet of paper in the manual feed
slot.
Remove the jammed paper.
For more detailed information, see the Online User's Guide: Printer
Jam or Paper Jam.
Make sure the paper guides are set to the correct paper size.
Remove the jammed paper.
For more detailed information, see the Online User's Guide: Printer
Jam or Paper Jam.
Make sure the paper guides are set to the correct paper size.
Clean the paper pick-up rollers.
For more detailed information, see the Online User's Guide: Clean the
Paper Pick-up Rollers.
After warming the room, allow the machine to warm up to room
temperature. Try again when the machine has warmed up.
Your machine can only save to your memory card or USB flash drive if
it contains fewer than 999 files. Delete unused files and try again.
Delete unused files from your memory card or USB flash drive to make
some free space, and then try again.
There is no incoming call history. You did not receive calls or you have
not subscribed to the Caller ID service from your telephone company.
To use the Caller ID feature, contact your telephone company.
For more detailed information, see the Online User's Guide: Caller ID.
Remove the new ink cartridge and re-install it slowly and firmly until it
locks into place.
For more detailed information, see the Online User's Guide: Replace
the Ink Cartridges.
23
