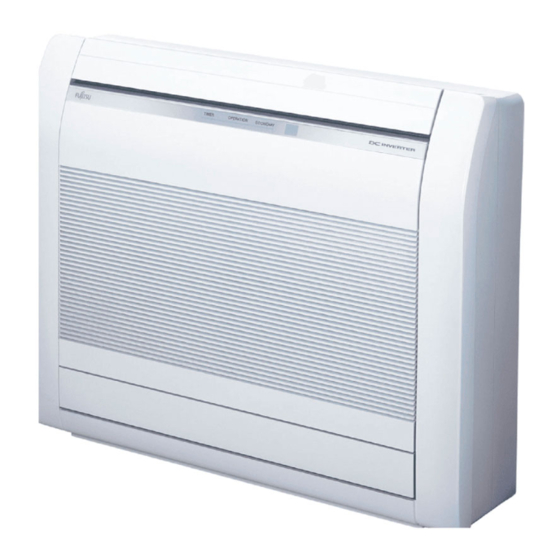
Fujitsu Suelo AGY40-KV Manual de instrucciones - Página 4
Navegue en línea o descargue pdf Manual de instrucciones para Aire acondicionado Fujitsu Suelo AGY40-KV. Fujitsu Suelo AGY40-KV 13 páginas.
También para Fujitsu Suelo AGY40-KV: Manual de instrucciones (13 páginas)

Battery loading and remote controller preparation
(R03/LR03/AAA x 2)
2
3
1
~
Put batteries as shown in the fi gure above.
1
3
Press
to start clock setting.
4
Press
5
(
to Sunday).
* By pressing
changed from a 24-hour to a 12-hour clock.
Press
to continue.
6
Press
7
(
Press the buttons to change the clock by a minute.
Press down the buttons to change the clock by 10 minutes.
Press
to complete the setting.
8
Be close to the indoor unit. If you press the button from a
distance, settings may not be properly sent.
NOTES:
• Use specifi ed type of batteries only.
• Do not mix different types or new and used batteries together.
• Batteries can be used about 1 year in ordinary use.
• If the remote control range noticeably shortens, replace the
batteries, and press
3. NAME OF PARTS
For appropriate signal transmission between the remote
controller and the indoor unit, keep the signal receiver
away from the following items:
- Direct sunlight or other strong lights
- Flat-panel television screen
In rooms with instantaneous fl uorescent lights, such as
inverter type ones, the signal may not be transmitted
properly. In such a case, consult the store of purchase.
3.1. Indoor unit
For Manual Auto operation
and Filter indicator reset
Air Outlet Selection switch
(Refer to page 5.)
Rope
Vertical
louver
(behind Airfl ow
Direction Louver
and Damper)
Indicator lamps
En-3
8
4
to set day of the week (Monday
)
, the time indicator can be
to set the clock.
)
as shown in page 4.
CAUTION
(Refer to page 12.)
Air fi lter
Airfl ow Direction
Louver
Front panel
Drain hose
Intake grille
Damper
*2)
Remote controller
signal receiver
*1) Before starting operation, make sure that the intake grille is closed
completely. Incomplete closing may affect the proper function or
performance of the product.
*2) Indicator lamps light in the following conditions. It cannot see when
the indicator lamp is off.
6
Name
5
7
TIMER
OPERATION
ECONOMY
3.2. Remote controller
When you use the optional remote controller, the appearance
and the operation procedure may differ.
For details, please refer to the operation manual of each remote
controller.
: The setting must be done while the setting screen is displayed
for each function.
: The button is controllable only when the air conditioner is
operating.
In this section, all the possible indicators are displayed for description.
In actual operation, the display is linked with the button operation, and
only shows the necessary indicators for each setting.
For Basic operations ..................... Refer to page 5.
Starts or stops the air conditioner operation.
Changes the operation mode.
Adjusts the setting temperature.
For 10 °C Heat operation .............. Refer to page 8.
Activates the 10 °C Heat operation.
For Energy saving operation ........ Refer to page 7.
Activates or deactivates the Economy
operation.
For Outdoor Unit Low Noise operation
Air cleaning
Activates or deactivates the Outdoor Unit Low
fi lter
Noise operation.
Do not press this button in normal use.
It starts the test run (for use by authorized service personnel only).
*1)
NOTES: If the test run starts unintentionally, press
run.
Color
Operation or condition
Orange
Timer operation
Green
Normal operation
Green
Economy operation
10 °C Heat operation
Remote controller display
... Refer to page 7.
to quit the test
