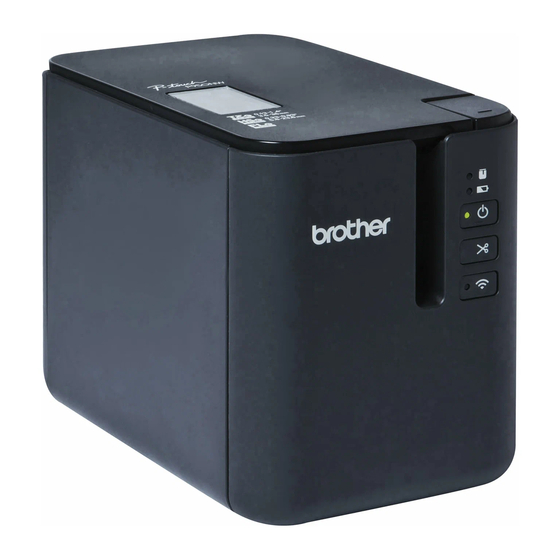
Brother p950nw Manual de inicio rápido - Página 7
Navegue en línea o descargue pdf Manual de inicio rápido para Etiquetadora Brother p950nw. Brother p950nw 9 páginas.
También para Brother p950nw: Manual de seguridad del producto (15 páginas)

Troubleshooting
Printing Problems
Problem
Solution
The label did not print.
• Check that text has been entered and that
• If the tape is bent, cut off the bent section and
• If the tape is jammed, remove the tape
The label is not printed
• Remove the tape cassette and reinstall it,
correctly.
• If the print head is dirty, clean it with a cotton
The ink ribbon is separated
If the ink ribbon is broken, replace the tape
from the ink roller.
cassette. If not, leave the tape uncut and
remove the tape cassette, then wind the loose
ink ribbon onto the spool as shown in the figure.
The machine stops while
• Replace the tape cassette if striped tape is
printing a label.
• Connect the AC adapter directly to the
The label did not get cut
Check the Cut Option setting. For more
automatically.
information, see the User's Guide.
Alternatively, when using the tape cassette,
press the
cut the tape.
A tape jam error cannot be
Contact Brother customer service.
cleared despite following
the troubleshooting steps.
I want to print in higher
High resolution printing can be used if you are
resolution.
printing from a computer,the AC adapter is
connected, and TZe laminated tape with black
ink is installed. Use the printer driver to select
the high resolution mode when printing the
labels.
The high resolution or high
As conditions for high resolution or high speed
speed printing setting was
printing, the AC adapter must be connected,
specified, but an error
and TZe laminated tape with black ink must be
occurred and printing could
installed.
not be completed.
To clear the error, cancel the print job, and then
connect the AC adapter or cancel high
resolution or high speed printing.
the tape cassette is installed correctly with
sufficient tape remaining.
thread the tape through the exit slot.
cassette, and then pull out the jammed tape
and cut it. Check that the end of the tape
passes through the guide before reinstalling
the tape cassette.
pressing it firmly until it locks into place.
swab or optional print head cleaning cassette
(TZe-CL6).
1
1
Spool
visible, as this indicates that you have
reached the end of the tape.
machine, or charge the rechargeable Li-ion
battery.
(Feed&Cut) button to feed and
Problem
Solution
Printed barcodes cannot
• Print labels so that barcodes are aligned with
be read.
• Try using another scanner.
• We recommend printing the barcodes with
Windows Vista / Windows Server 2008
Windows 7 / Windows Server 2008 R2
Windows 8 / Windows 8.1 / Windows
Server 2012 / Windows Server 2012 R2
Windows 10
Version Information
Problem
Solution
I do not know the version
You can use the following procedure.
number of the firmware for
Use 24 mm or 36 mm tape.
the machine.
1
2
I want to confirm whether I
Use the P-touch Update Software to confirm if
am using the latest version
you have the latest version or not.
of the software.
See the User's Guide for more information
about the P-touch Update Software.
the print head as shown below:
1
2
1
Print head
2
Barcodes
3
Printing orientation
[Standard] selected from the [Quality]
options.
To display the [Quality] options, open the
printer properties by clicking the Start button
- [Control Panel] - [Hardware and Sound] -
[Printers], right-clicking the machine you
want to set up, and then clicking [Printing
Preferences].
To display the [Quality] options, open the
printer properties by clicking the Start button
- [Devices and Printers], right-clicking the
machine you want to set up, and then clicking
[Printing Preferences].
To display the [Quality] options, open the
printer properties by clicking [Control Panel]
in the [Apps] screen - [Hardware and
Sound] - [Devices and Printers],
right-clicking the machine you want to set up,
and then clicking [Printing Preferences].
To display the [Quality] options, open the
printer properties by clicking the Start button
- [Settings] - [Devices] - [Devices and
Printers], right-clicking the machine you
want to set up, and then clicking [Printing
Preferences].
Turn your machine on.
Press and hold the
(Feed&Cut) button
for more than 10 seconds to print the report.
3
