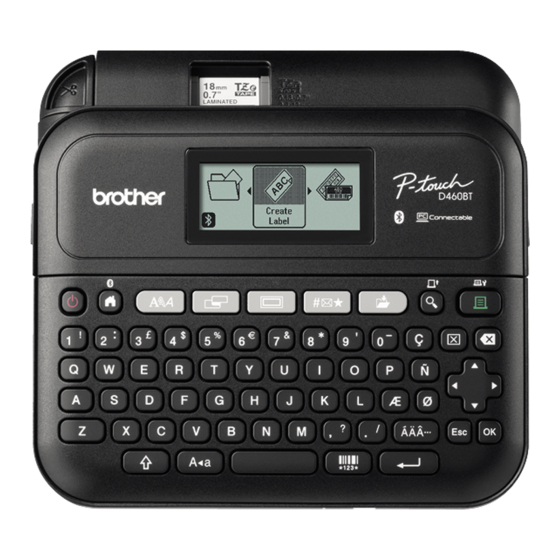
Brother PT-D460BT Manual de inicio rápido - Página 5
Navegue en línea o descargue pdf Manual de inicio rápido para Etiquetadora Brother PT-D460BT. Brother PT-D460BT 9 páginas.
También para Brother PT-D460BT: Manual (9 páginas)
Basic Operations
support.brother.com/manuals
Initial Settings
Language
Set your text entry language.
Settings
[Settings]
[Language]
Select a language
Unit
Set the unit for various types of
Settings
adjustments.
[Settings]
[Unit]
/
[mm]
/
LCD
Adjust the LCD contrast to make it easier
Contrast
to read.
[Settings]
[Adjustment]
[LCD Contrast]
[-2] to [+2]
/
Enter Text
Press
to start a new line.
New Line
Maximum number of lines for each
tape width:
18 mm: five lines
12 mm: three lines
9 mm, 6 mm: two lines
3.5 mm: one line
Block
Use this feature to include multiple lines
or font sizes on a single label.
+
Maximum: five blocks
Delete Text
Delete text and formatting.
and Format
or
Delete one character at a time
Delete all characters
[Text Only]
Delete all text and formatting.
[Text & Format]
Tab
Insert a tab.
Maximum length: 100 mm
Tab Length
Set the tab length.
[Tab Length]
Select a value
Upper-Case
Switch between upper-case and
Lower-Case
lower-case characters.
Enter Text (cont.)
Label
Length
/
/
/
Text
Reminder
/
[inch] /
Symbol
Characters
/
/
/
Accented
Characters
Frame
Change Font
Change
Font
Change
/
Font Line
By Line
/
Auto Fit
Style
/
/
Set the label length you want.
[Auto]: Automatically adjusts the label
length to the length of the text.
[Length]
/
Select a value
/
Saves frequently used text for quick
retrieval.
Enter characters
Shows suggested
text?
Select a text
Inserts symbols, units, and pictures.
Select a category
Select a symbol
Select an entered character and convert it
to an accented character.
Enter characters
an accent
/
Add a decorative frame to your label.
Select a frame category
/
Select a frame
/
Change the label font, size, width, style,
and alignment.
Select a font type
Select attribute value
/
Change the line font, size, width, style,
and alignment.
+
Move the cursor to the line you want
to change
+
a font type
/
Select
attribute value
/
Automatically adjust the text size to fit the
label length.
[Text Size]: Adjust to the length of the label
[Text Width]: Adjust by condensing the
character width by half
[Settings]
/
[Auto Fit Style]
/
Size] / [Text Width]
/
Set Margins
Set
Set the margins before and after an
Margins
entered character.
[Small Margin]: Insert a margin of
approx. 23 mm before the first label only,
and then insert margins of 2 mm between
the subsequent labels.
[Large Margin]: Insert an initial margin
of approx. 25 mm is inserted before and
after the text of each label.
[Chain]: Print multiple labels with minimal
margins. Insert a margin of approx.
/
23 mm before the first label only, and
then insert margins of 2 mm between the
subsequent labels.
[No Cut]: Print multi-part labels or use
/
special tape, and then cut the labels
/
manually.
[Special Tape]: Use this setting when
printing on special tape.
Select
Set Auto Format Layouts
Template
Use your favourite designs as templates.
Select a template category
/
Block
Use block layout patterns as templates.
Layout
Select the tape width
Enter text
Select
Print Labels
Preview
Use this feature to check the final design
before printing.
Print
Start printing.
When printing a single label:
[Text
When printing multiple labels:
[Cut Option]
/
Select the margin type
/
[Auto Format]
/
[Templates]
/
/
Select a template
/
Enter text
/
[Auto Format]
/
[Block Layouts]
/
/
Select a block layout
/
/
/
/
Select a print quantity
/
/