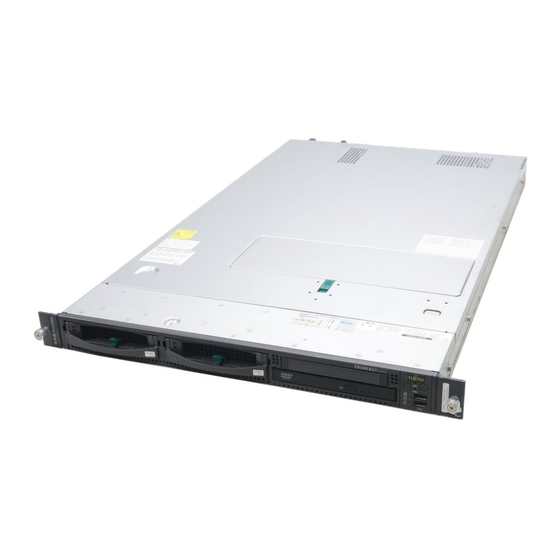
Fujitsu Primergy RX200 S4 Manual de inicio - Página 2
Navegue en línea o descargue pdf Manual de inicio para Servidor Fujitsu Primergy RX200 S4. Fujitsu Primergy RX200 S4 9 páginas.
También para Fujitsu Primergy RX200 S4: Manual del suplemento de servicio (39 páginas)

4
Conditions
n Restriction of installation features
When installing this server, avoid the following areas.
�����������������������������
�����������������������������
�����������������������������
�������������������������
�������������������������
�������������������������
����������������������������������������������
����������������������������������������������
����������������������������������������������
����������������������
����������������������
����������������������
�����������������������������������������������������������
�����������������������������������������������������������
�����������������������������������������������������������
�������������������������������������℃������������℃
�������������������������������������℃������������℃
�������������������������������������℃������������℃
�������������������������������������������������������
�������������������������������������������������������
�������������������������������������������������������
- In dusty areas, dust will stick to the front and backside of the server for a short period of time. Since it causes failure, chang-
ing the installation place is recommended.
- Noise level of this server is measured at 52dB. It is recommended to place the server in an exclusive room.
Use the server with care if it is placed in an office.
n Install the server into the rack
- Be sure to secure the rack with stabilizers to prevent the device from tipping over. For details on installing the rack, refer to the
rack manual.
- When you carry the server, have the right and left sides and the bottom of the server by two or more people.
1
Open both the front and rear doors of
the rack.
2
Check that the locations where the slide
rails and rack nuts will be installed.
The slide rails are attached to the front and rear rack
pillars. The rack nuts are attached to the front pil-
lars.
��������������������
�������������������
3
Check the right and left of the slide
rails.
[RIGHT] is stamped on the right side rail near the rack
pillar and [LEFT] is stamped on the left side rail.
4
Remove the inner rail from the slide rail.
����������������������
���������
����������
����������������������������������������
�����������
������������
���������������������
������������
�������������
��������������������������
���������������������������
��������������������
������������������������
����������
�����������������������������
�������������
�������������
�������������
����������������������������������������
����������������������������������������
����������������������������������������
����������������������������������������
����������������������������������������
����������������������������������������
����������������������������������������������������
����������������������������������������������������
����������������������������������������������������
�������������������������������
�������������������������������
�������������������������������
����������������������������������������������������������
����������������������������������������������������������
����������������������������������������������������������
��������������������
��������������������
��������������������
5
Attach the inner rail to the server.
Set the screws on the server side in the holes of the
rail (1), and slide the rail backward to secure it (2).
��������������������������
6
Attach the slide rail assemblies and in-
sert the rack nuts into the rack holes.
Insert the pins on the rear of the slide rails
1.
into the rack.
2.
Align the screw location on the front of the
side rails with the rack, and attach the slide
rails to the rack along with the washers.
3.
Insert the rack nut tabs from inside of the rack
pillar to attach the rack nuts.
�������
�����������
������
������������������
2
���������������������������
������
���������������
����������
���������������
��������������
����������������
���
���
