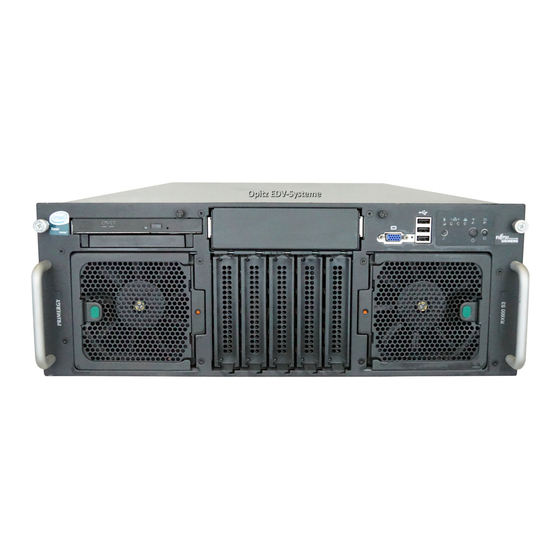
Fujitsu Primergy RX600 Manual de inicio - Página 5
Navegue en línea o descargue pdf Manual de inicio para Servidor Fujitsu Primergy RX600. Fujitsu Primergy RX600 8 páginas.

4
Select [Quick Installation], and click
[Next].
The [Select the Boot Controller and Boot Disk]
window appears.
5
Set configuration of the RAID and disks,
and click [Next].
To install the OS while maintaining the estab-
lished RAID environment
"
Select
Logical Disk 0
to be created. One partition can be created.
"
Select
Logical Disk 0
required to be created.
To configure RAID
"
Select
create new RAID array with one partition
and specify the RAID level to be configured and the
size of the partition. All existing RAID will be de-
leted. One partition can be created.
The [Please select the OS to install]
pears.
6
Select the OS to be installed, and click
[Next].
The [Configure your unattended Windows Installa-
tion] window appears.
7
Set the items, and click [Next].
The [Summary] window appears.
8
Confirm the settings, and click [Start In-
stallation].
9
Click [Start now].
Installation starts.
When a message prompts you to insert Array
Controller Document & Tool CD
Insert the Array Controller Document & Tool CD,
and click [OK].
When a message prompts you to insert Service
Pack CD-ROM
Insert the Service Pack CD-ROM, and click [OK].
10
When a message prompts you to insert
the OS CD/DVD, insert the CD/DVD,
and click [OK].
For Windows Server 2003 / Windows Server
2003 x64
1.
Insert the OS CD/DVD (Installation disc).
The license agreement window appears.
2.
Click [Accept].
After files are copied, a message prompts you
to eject the CD/DVD and floppy disk.
For Windows Server 2003 R2 / Windows Server
2003 R2 x64
1.
Insert the OS CD/DVD (Installation disc) Disc 1.
The license agreement window appears.
",
and specify partition size
"
even if the RAID is not
window ap-
Click [Accept].
2.
After files are copied, a message prompts you to
insert the Disc 2.
3.
Insert the OS CD/DVD (Installation disc) Disc 2.
After files are copied, a message prompts you to
eject the CD/DVD and floppy disk.
11
Eject the CD/DVD and floppy disk, and
click [OK].
The system restarts. Setup of OS GUI and installa-
tion of LAN utility and Active Directory are per-
formed automatically.
12
When a confirmation message to restart
appears, click [Restart].
"
,
The system restarts and installs high reliability tools.
- Thus the Command Prompt windows may
appear and disappear during installation of
ServerView, the installation process is properly
proceeding.
- When using Microsoft media, the screen to enter
a product key may be displayed during OS instal-
lation. When the entry screen is displayed, enter
the product key again.
13
Restart the system.
Press the [Enter] key when a message notifies com-
pletion of installation.
Click [Start] - [Shutdown] to restart the system.
After the system restarts, enter the password you
have set to log on.
14
Configure settings for the RAID man-
agement tool (ServerView RAID).
For details, refer to the manuals in Array Controller
Document & Tool CD.
Setting an array administrator account
A Windows user account is required when using
ServerView RAID. Create a group named
",
adm
and create an account with any name for an
array administrator within the group
Setting HDD Check Scheduler
Modify the settings of HDD Check Scheduler if nec-
essary. It has been set for 12:00 every day as a default
setting.
Setting of Battery Recalibration Scheduler
Modify the settings of Battery Recalibration Sched-
uler if necessary. It has been set for 11:00 on the first
day of every month as default.
15
Configure settings for ServerView.
Refer to "2.4 Setting after Installation" in "Server-
View User's Guide" to configure the necessary set-
tings.
5
"
raid-
"
"
raid-adm
.
