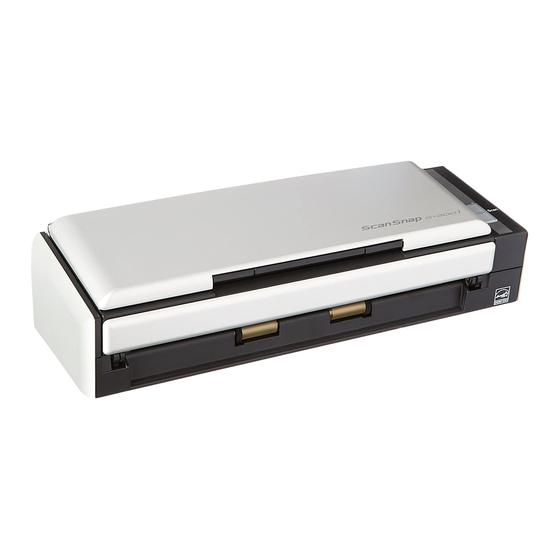
Fujitsu ScanSnap S1300 Manual de introducción - Página 3
Navegue en línea o descargue pdf Manual de introducción para Escáner Fujitsu ScanSnap S1300. Fujitsu ScanSnap S1300 8 páginas. Color image scanner
También para Fujitsu ScanSnap S1300: Folleto y especificaciones (2 páginas), Manual de introducción (9 páginas), Especificaciones (3 páginas), Precauciones de seguridad (9 páginas)

If the CPU and the memory do not meet the
required specifications, scanning speed will
slow down.
When the font size is large, some screens may
not be displayed properly. In that case, use a
smaller font size.
The actual increase in used disk space after
installation and the required disk space for
installation may differ from each other
depending on your Windows
management.
Prepare the Setup DVD-ROM.
1.
Turn on the computer and log on as a user
with Administrator privileges.
2.
Insert the Setup DVD-ROM into the DVD-
ROM drive.
The [ScanSnap Setup] dialog box appears.
If the [ScanSnap Setup] dialog box does
not appear, double-click
"ScanSnap.exe" in the DVD-ROM via
[Explorer] or [My Computer].
3.
Click the [Install Products] button.
The [Welcome to the InstallShield Wizard for
ScanSnap] dialog box appears.
4.
Click the [Next] button.
The [ScanSnap Setup] dialog box appears.
5.
Check the contents of the message
regarding anti-virus software, and click the
[OK] button.
The [Select Features] dialog box appears.
®
system disk
3
6.
Confirm that all required software are
selected, and click the [Next] button.
Installing ScanSnap Manger is
necessary.
The [Choose Destination Location] dialog box
appears.
7.
Choose the destination folder and click the
[Next] button.
The [ScanSnap License Agreement] dialog
box appears.
8.
Read the full text of the "ScanSnap License
Agreement". If you agree to the terms of this
license, select [I accept the terms of the
license agreement] and click the [Next] but-
ton.
This operation needs to be performed
several times, according to the number of
software applications to be installed.
The [Start Copying Files] dialog box appears.
9.
Check the settings and click the [Next] but-
ton.
The installation is started. When the
installation is complete, the [InstallShield
Wizard Complete] dialog box appears.
10.
Click the [Finish] button.
The [ScanSnap Setup] dialog box appears.
11.
Remove the Setup DVD-ROM from the
DVD-ROM drive.
Software installation is complete. Proceed to "Con-
necting the ScanSnap" (page 5).
