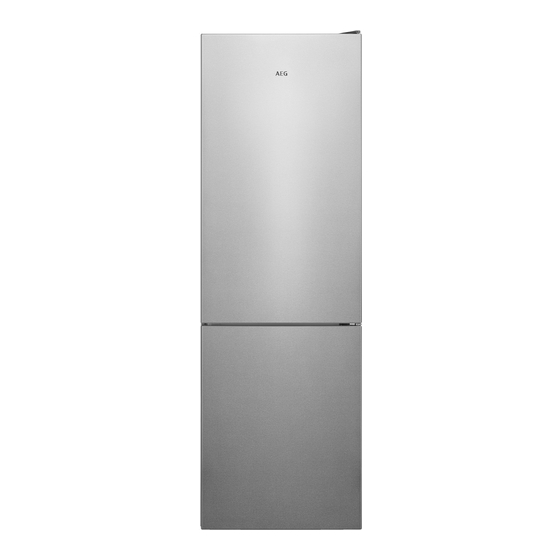
AEG RCB632E2MX Manual del usuario - Página 12
Navegue en línea o descargue pdf Manual del usuario para Frigorífico AEG RCB632E2MX. AEG RCB632E2MX 32 páginas.

• Install the two plastic distance guides (the parts on the black vanes
-condenser- at the rear) by turning it 90° (as shown in the figure) to
prevent the condenser from touching the wall.
• If you position the appliance against a wall in a freestanding installation,
install the rear spacers in order to guarantee the maximum possible
distance
Before Using your Fridge
• When using your fridge for the first time, or after transportation, keep it
in an upright position for at least 3 hours before plugging into the mains.
This allows efficient operation and prevents damage to the compressor.
• Your fridge may have a smell when it is operated for the first time. This
is normal and the smell will fade away when your fridge starts to cool.
Internal lighting
WARNING!
Risk of electric shock.
• Concerning the lamp(s) inside this product and spare part lamps sold separately: These
lamps are intended to withstand extreme physical conditions in household appliances,
such as temperature, vibration, humidity, or are intended to signal information about the
operational status of the appliance. They are not intended to be used in other applications
and are not suitable for household room illumination.
Electrical information (For UK type plug)
Warning! This appliance must be earthed.
The mains lead of this appliance has been fitted with a specially earthed plug.
Important: Do not use the appliance without the fuse cover in position. Should the
fuse need to be replaced, it must be replaced with a 13A fuse, ASTA approved to BS1362.
The plug must be used with a specially earthed socket of 13 amperes. If there is no such
socket in your house, please have one installed by an authorised electrician.
The mains lead of this appliance has been fitted with a BS
1363A 13A fused plug. To change a fuse in this type of plug,
follow the steps below:
1. Remove the fuse cover and fuse.
2. Fit replacement 13A fuse, ASTA approved to BS 1362 type,
into the fuse cover.
3. Replace fuse cover.
EN -12-
