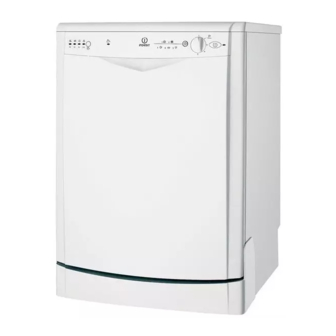
Indesit IDL 60 Manual de instalación y uso - Página 17
Navegue en línea o descargue pdf Manual de instalación y uso para Lavavajillas Indesit IDL 60. Indesit IDL 60 44 páginas. Dishwasher
También para Indesit IDL 60: Manual de instalación y uso (17 páginas)

Loading the Dishwasher
Load examples
Before placing the dishes in the dishwasher, remove the
larger food particles to prevent the filter from becoming
Top Rack
Bottom Rack
clogged, which results in reduced performance.
If the pots and pans have baked-on food that is extremely
hard to remove, we recommend that they be allowed to
soak before they are washed. This will eliminate the need
for extra wash cycles.
Pull out the racks to facilitate loading the dishwasher.
How to Use the Lower Rack
We recommend that you place the most difficult to clean
items on the bottom rack: pots, pans, lids, serving dishes
and bowls, as shown in the figure to the right.
It is preferable to place serving dishes and lids on the
sides of the racks in order to avoid blocking the rotation
of the top spray arm.
- Pots, serving bowls, etc. must always be placed top
down.
- Deep pots should be slanted to allow the water to flow
out.
- Insert the cutlery into the basket: knives and utensils
with sharp blades or tips
should be positioned with the
A
sharp parts at the bottom.
Position all cutlery items so
that they don't touch.
A
If the rack has side baskets,
the spoons should be loaded
individually
into
the
appropriate slots (see fig. A).
- Especially long utensils
should be placed in the
horizontal position at the
front of the upper rack.
How to Use the Upper Rack
The upper rack is designed to hold more delicate and
lighter dishware, such as glasses, coffee and tea cups
and saucers, as well as plates, small bowls and shallow
pans (as long as they are not too dirty).
- Position the dishes and cookware so that they do not
get moved by the spray of water.
1
How to adjust the Upper rack ...
2
A
The top rack can be adjusted using the two rack heights
(top and bottom). To adjust the rack, open up the tabs
that lock the guides and pull out the rack. Arrange the
rack with the back wheels in either the top or bottom
3
Fig. F
position and then insert it along the guides until the front
4
wheels are on as well. Close the tabs to lock the rack in
place (see Fig. F).
GB
15
Get other manuals https://www.bkmanuals.com
