AEG ARCTIS Manual de instrucciones - Página 12

Navegue en línea o descargue pdf Manual de instrucciones para Congelador AEG ARCTIS. AEG ARCTIS 40 páginas. Built-in fridge-freezers
También para AEG ARCTIS: Manual de instrucciones (32 páginas), Manual de instrucciones (28 páginas), Manual de instrucciones (28 páginas), Instrucciones de uso (16 páginas), Manual de instrucciones (36 páginas), Manual de instrucciones (36 páginas), Manual de instrucciones (26 páginas), Instrucciones de uso y manual de instalación (28 páginas), Manual de instrucciones (36 páginas), Manual de instrucciones (27 páginas), Manual de instrucciones (34 páginas), Manual del usuario (24 páginas), Manual de instrucciones de instalación (11 páginas), Manual de instrucciones (29 páginas), Manual de instrucciones (23 páginas), Manual de instrucciones de instalación (25 páginas), Manual de instrucciones de instalación (24 páginas)
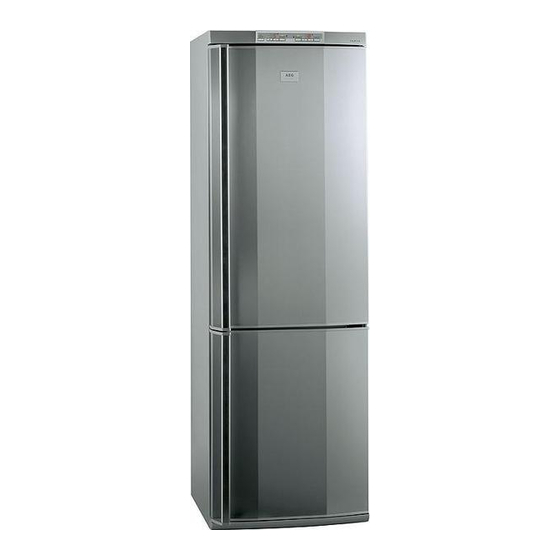
AEG ARCTIS Manual de instrucciones
Installation
Electrical Connection
Any electrical work required to install this appliance should be carried
out by a qualified electrician or competent person.
1
WARNING – THIS APPLIANCE MUST BE EARTHED
The manufacturer declines any liability should these safety measures
not be observed.
Before switching on, make sure the electricity supply voltage is the
same as that indicated on the appliance rating plate. The rating plate is
inside, on the left.
The appliance is supplied with a 13 amp plug fitted. In the event of
having to change the fuse in the plug supplied, a 13 amp ASTA appro-
ved (BS 1362) fuse must be used.
Important
The wires in the mains lead are coloured in accordance with the follo-
wing code:
Green and Yellow Earth
Blue
Brown
As the colours of the wires in the
mains lead of this appliance may not correspond with the coloured
markings indentifying the terminals in your plug, proceed as follows:
1. The wire coloured green and yellow must be connected to the termi-
nal marked with the letter „E" or by the earth symbol
green and yellow.
2. The wire coloured blue must be connected to the terminal „N" or
coloured black.
3. The wire coloured brown must be connected to the terminal marked
„L" or coloured red.
4. Upon completion there must be no cut, or stray strands of wire pre-
sent and the cord clamp must be secure over the outer sheath.
1
Warning! A cut-off plug inserted into a 13 amp socket is a serious
safety (shock) hazard. Ensure that the cut-off plug is disposed of safely.
12
(valid for United Kingdom only)
Neutral
Live
Green
& Yellow
Blue
Brown
Cord Clamp
or coloured