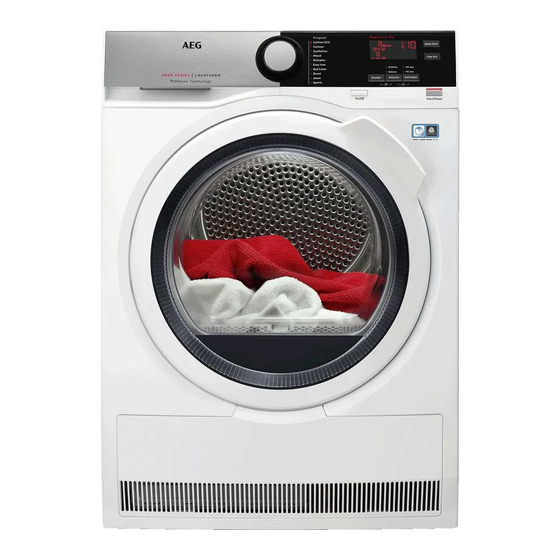
AEG T6DHE831B Manual del usuario - Página 15
Navegue en línea o descargue pdf Manual del usuario para Secadora AEG T6DHE831B. AEG T6DHE831B 28 páginas.

3. Touch and hold down 2 buttons at
the same time.
The symbol
4. To deactivate the child lock, touch
the above buttons again until the
symbol disappears.
9.8 Starting a program
To start the program:
Touch the Start/Pause button.
The appliance starts and the LED above
the button stops flashing and stays on.
9.9 Program change
To change a program:
1. Push the On/Off button to turn the
appliance off.
2. Push the On/Off button again to turn
on the appliance.
3. Set a new program.
9.10 Programme end
Clean the filter and drain the
water container after each
drying cycle. (See chapter
CARE AND CLEANING.)
10. HINTS AND TIPS
10.1 Ecological hints
• Spin the laundry well before drying.
• Do not exceed the load sizes which
are specified in the programmes
chapter.
• Clean the filter after each drying
cycle.
• Do not use fabric softener to wash
and then dry. In the tumble dryer
laundry becomes soft automatically.
appears on the display.
If the drying cycle is finished, the symbol
appears on the display. If the Buzzer
option is activated, the acoustic signal
sounds intermittently for 1 minute.
If you do not turn off the
appliance, the anti-crease
phase starts (not active with
all programmes). Flashing
symbol signals the
execution of the anti-crease
phase. Laundry can be
removed during this phase.
To remove the laundry:
1. Push the On/Off button for 2 seconds
to turn the appliance off.
2. Open the appliance door.
3. Remove the laundry.
4. Close the appliance door.
Possible causes of unsatisfactory drying
results:
• Inadequate default dryness level
settings. See chapter
default dryness level
• Room temperature is too low or too
high. Optimal room temperature is
between 18°-25°C.
• The water from the water container
can be used to iron the clothes. You
must first filter the water to eliminate
remaining textile fibres (simple coffee
filter is suitable).
• Always keep the airflow slots at the
bottom of the appliance clear.
• Make sure there is good airflow where
the appliance is to be installed.
ENGLISH
15
Adjustment of
