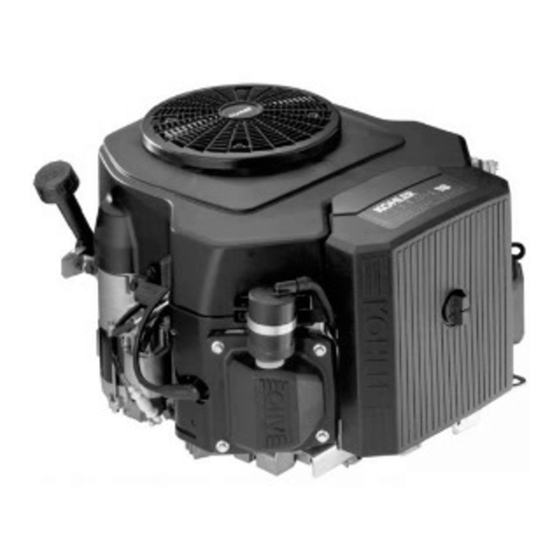
Kohler Command CV25 Manual del usuario - Página 13
Navegue en línea o descargue pdf Manual del usuario para Motor Kohler Command CV25. Kohler Command CV25 25 páginas. Vertical crankshaft
También para Kohler Command CV25: Manual del usuario (20 páginas), Manual del usuario (20 páginas)

7. Reinstall the paper element, precleaner, element
cover, element cover wing nut and air cleaner
cover. Secure cover with the cover retaining knob.
8. When element replacement is necessary, order
genuine Kohler Parts.
T
p y
e
A
4
7
0
8
3
0
3
S -
6
5
m
m
2
4
0
8
3
0
3
S -
7
4
m
m
T
p y
e
B
4
5
0
8
3
0
2
S -
7
8
m
m
Heavy-Duty Air Cleaner
To Service
Every 250 hours of operation (more often under
extremely dusty or dirty conditions), replace the
paper element and check inner element. Follow these
steps.
1. Unhook the two retaining clips and remove the
end cap from the air cleaner housing.
2. Pull the air cleaner element out of the housing.
See Figure 14.
Main
Element
Figure 14. Removing Elements.
3. After the main element is removed, check the
condition of the inner element. It should be
replaced whenever it appears dirty, typically
every other time the main element is replaced.
Clean the area around the base of the inner
element before removing it, so dirt does not get
into the engine.
4. Do not wash the paper element and inner
element or use pressurized air, this will damage
the elements. Replace dirty, bent or damaged
elements with new genuine Kohler elements as
required. Handle new elements carefully; do not
use if the sealing surfaces are bent or damaged.
5. Check all parts for wear, cracks, or damage.
Replace any damaged components.
2 (
5 .
5
n i
) .
h
g i
h
x
1
7
8
m
m
7 (
0 .
2 (
9 .
1
n i
) .
h
g i
h
x
1
7
8
m
m
7 (
0 .
3 (
0 .
8
n i
) .
h
g i
h
x
1
5
4
m
m
6 (
0 .
Inner
Element
6. Install the new inner element, Kohler Part No.
25 083 04-S followed by the outer element, Kohler
Part No. 25 083 01-S. Slide each fully into place in
the air cleaner housing.
7. Reinstall the end cap so the dust ejector valve is
down and secure with the two retaining clips.
0
n i
) .
. O
. D
See Figure 15.
0
n i
) .
. O
. D
7
n i
) .
. O
. D
Figure 15. Heavy-Duty Air Cleaner Assembly.
Clean Air Intake/Cooling Areas
To ensure proper cooling, make sure the grass screen,
cooling fins, and other external surfaces of the engine
are kept clean at all times.
Every 100 hours of operation (more often under
extremely dusty, dirty conditions), remove the blower
housing* and other cooling shrouds. Clean the cooling
fins and external surfaces as necessary. Make sure the
cooling shrouds are reinstalled.
*Cleanout kits 25 755 20-S (black) or 25 755 21-S (gold)
allow inspection and cleanout of the cooling fins,
without removing the blower housing.
NOTE: Operating the engine with a blocked grass
screen, dirty or plugged cooling fins, and/or
cooling shrouds removed, will cause engine
damage due to overheating.
Ignition System
Carbureted Engines - Use an electronic Capacitive
Discharge (CD) ignition system. Other than
periodically checking/replacing the spark plugs, no
maintenance, timing, or adjustments are necessary or
possible with this system.
EFI Engines - Incorporate a computer-controlled
battery ignition system with individual coils. Other
than periodically checking/replacing the spark plugs,
no maintenance, timing, or adjustments are necessary
or possible with this system.
Dust
Ejector
Valve
13
